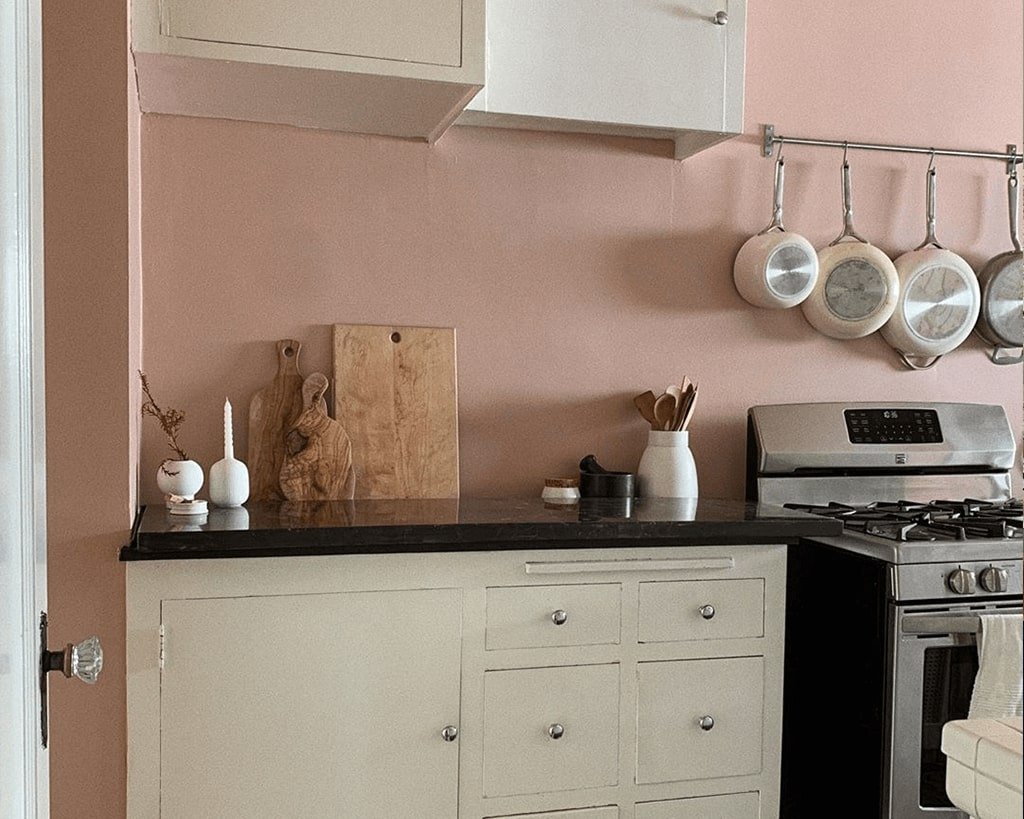
What Paint to Use for Kitchen Walls: Expert Tips for Perfect Color
The kitchen is the most high-traffic, high-stress room in most homes: between boiling pots, sizzling pans, sticky kid handprints, and scuffs from grocery bags, your wall paint takes a beating few other interior surfaces do. Choosing the wrong paint for kitchen walls doesn’t just lead to a lackluster look — it can result in peeling, stained, and grimy surfaces in as little as two years, costing you more time and money in frequent touch-ups and repaints. If you’re wondering what paint to use for kitchen walls that balances style, durability, and easy maintenance, this guide breaks down expert, up-to-date recommendations to help you pick a finish and formula that will look fresh for a decade or more. We’ll cover performance needs, finish and paint type comparisons, color selection strategies, critical prep steps, professional application techniques, and maintenance tips to keep your kitchen walls looking their best. For more on this, see our guide on what color to paint my kitchen walls with.
Understanding Kitchen-Specific Paint Performance Needs
Standard interior paint formulated for low-traffic bedrooms or living rooms almost always fails in kitchens. Kitchen walls face three unique stressors that standard paint isn’t designed to handle:
- High humidity from boiling water, dishwashing, and steam from cooking, which can cause paint to bubble, peel, or grow mold
- Grease aerosols from stovetop cooking that settle on walls, creating stubborn, hard-to-remove stains
- Frequent physical contact from cabinets, appliances, and household members that cause scuffs, scratches, and wear In practice, most homeowners underestimate how much grease builds up on kitchen walls over time — even if you use your range hood regularly, a thin layer of aerosolized fat coats walls above the stove and sink, which is why standard flat paint will look grimy within 6 months of installation. Kitchen-specific paints are formulated with extra binders, mildewcide, and stain-blocking technology to resist these challenges, and will last 7-10 years with proper care, compared to 3-5 years for standard interior paint. A common mistake is prioritizing color over performance, choosing a trendy matte finish for its aesthetic appeal without accounting for how impossible it is to clean grease splatters off a porous, non-washable surface. For more on this, see our guide on how to choose paint color for kitchen walls.
Choosing the Right Paint Finish for Kitchens
The finish (or sheen level) of your paint is the single biggest factor in how well it holds up to kitchen messes, and how easy it is to clean. Sheen is measured as the percentage of light reflected off the dry paint surface, and ranges from <5% for matte finishes to 60%+ for high-gloss options. Below is a breakdown of the most common interior finishes, and their ideal use cases for kitchen spaces:
| Finish | Sheen Level (Light Reflection) | Durability | Cleanability | Ideal Kitchen Use Case |
|---|---|---|---|---|
| Matte/Flat | <5% | Low | Poor (absorbs stains, hard to clean) | Only for low-traffic kitchen nooks, no cooking zones |
| Satin | 10-25% | Medium-High | Good (wipes clean with mild soap) | Most kitchen walls, hides minor imperfections, versatile for all styles |
| Semi-Gloss | 30-60% | High | Excellent (resists grease, wipes without streaking) | High-moisture zones (around sinks, behind stoves, backsplashes) |
| Gloss | 60%+ | Very High | Excellent | Trim, cabinets, accent walls; avoid full walls if you have uneven drywall |
Satin finish is the most versatile option for most kitchens: it has a subtle, soft sheen that looks modern without highlighting every bump or flaw in your drywall, and it holds up well to regular cleaning. For areas that see constant water exposure or heavy cooking, semi-gloss is the better pick: its higher sheen repels moisture and grease, and you can wipe away splatters with a damp cloth without leaving streaks or damaging the finish. For more on this, see our guide on what color to paint kitchen walls with light. Gloss paint is highly durable, but its high reflectivity makes every imperfection in your walls visible, so it’s best reserved for trim, cabinets, or small accent walls rather than full kitchen wall surfaces.
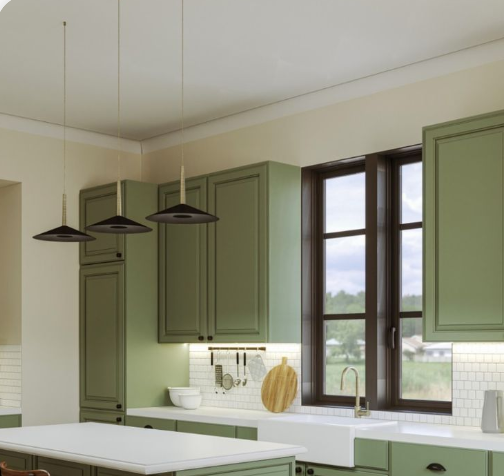 Satin finish paint offers a subtle sheen that resists grease and scuffs while hiding minor wall imperfections.
Credit: www.jswpaints.in
Satin finish paint offers a subtle sheen that resists grease and scuffs while hiding minor wall imperfections.
Credit: www.jswpaints.in
Top Paint Formulations for Kitchen Walls
Beyond finish, the base formula of your paint impacts its durability, VOC content, and suitability for kitchen use. Here are the top options available in 2026:
100% Acrylic Latex (The Standard Top Choice)
Acrylic latex is water-based, the most common interior paint formulation on the market, and the best all-around pick for kitchen walls. It’s flexible, so it expands and contracts with temperature fluctuations from cooking and seasonal changes without peeling or cracking. Premium acrylic latex paints also include added mildewcide and stain-blocking additives that prevent mold growth and stop existing stains from bleeding through the topcoat. In practice, mid-tier acrylic latex paints (priced $30-$45 per gallon) offer the best balance of performance and cost: cheap budget acrylic paints often have low binder content, leading to poor coverage and premature wear, while premium professional-grade lines offer only marginally better durability for double the price.
Mold- and Mildew-Resistant Kitchen Paints
If your kitchen has poor ventilation, is located in a humid climate, or is adjacent to a bathroom, opt for a paint formulated specifically to resist mold and mildew. These paints contain antimicrobial additives that prevent fungal growth on the paint surface, even in high-moisture conditions. They’re typically low-VOC, and just as durable as standard acrylic latex, making them a smart investment for preventing unsightly black mold spots on walls.
Eco-Friendly Low-VOC and Zero-VOC Paints
Volatile organic compounds (VOCs) are the harsh fumes emitted by traditional paints during application and drying, which can cause headaches, respiratory irritation, and long-term indoor air pollution. The U.S. Environmental Protection Agency sets strict limits on VOC content for interior paints sold in the U.S., with low-VOC products containing less than 50 grams of VOCs per liter, and zero-VOC formulas containing less than 5 grams per liter U.S. Environmental Protection Agency VOC standards for interior paints. A common misconception from 10+ years ago is that zero-VOC paints are less durable than traditional options, but modern acrylic zero-VOC formulations are tested to match the scrubbability and stain resistance of standard paints, making them a great pick for homes with kids, pets, or residents with respiratory sensitivities.
Oil-Based Paint (Niche Use Cases Only)
Oil-based paint was once a popular pick for kitchen walls for its hard, durable finish, but it is now largely restricted for interior residential use in most U.S. states due to its high VOC content, strong fumes, and long drying times. It requires mineral spirits for cleanup, and takes 6-8 hours to dry to the touch, compared to 2-4 hours for water-based paints. Oil-based paint is only recommended for trim, cabinets, or high-wear surfaces like door frames, not full kitchen walls, for most homeowners.
Strategic Color Selection for Your Kitchen
Once you’ve chosen a finish and formulation, selecting the right color is key to creating a space that feels bright, cohesive, and aligned with your style. Your wall color should work with your kitchen’s layout, lighting, and existing fixtures to enhance the space, not clash with it.
Using Color to Maximize Small or Awkward Kitchen Layouts
Color can be used to visually manipulate the size and feel of your kitchen, no construction required. Light, cool tones (soft white, pale gray, light blue) recede visually, making small galley kitchens or low-ceilinged spaces feel larger and airier. Warm, dark shades (navy, forest green, terracotta) make large, open-plan kitchens feel cozier and more intimate, preventing the space from feeling cavernous. If you want to add personality to a small kitchen without overwhelming it, paint one accent wall behind the stove or sink in a bold shade, and keep the remaining walls light.
Popular Kitchen Color Trends for 2026
Current kitchen color trends lean toward warm, inviting neutrals as the base, with subtle pops of color for personality:
- Warm neutrals: Greige (gray-beige blend), warm beige, and soft terracotta are the most popular base shades, as they pair with every cabinet and countertop style, and avoid the cold, sterile feel of cool all-white kitchens.
- Accent colors: Muted sage, dusty blue, and deep olive are trending for accent walls or cabinet paint, adding depth without feeling overwhelming.
- All-white kitchens remain a top choice, but are paired with warm wood accents or stone countertops with warm undertones to avoid feeling too stark.
How Lighting Changes Paint Color Appearance
Natural and artificial light can drastically shift how a paint color looks in your kitchen, so testing samples is non-negotiable before committing to a full wall coat:
- North-facing kitchens get cool, dim natural light, so warm, light shades (cream, warm white, soft yellow) prevent the space from feeling cold and gloomy.
- South-facing kitchens get bright, warm natural light, so cool tones (pale blue, soft gray) balance the warmth and prevent the space from feeling overly yellow.
- For artificial lighting: 2700K (warm white) bulbs make cool paint tones look dull, so opt for warm paint shades if you use warm bulbs. 4000K (cool white) bulbs make warm paint look yellow, so choose cool tones for cool bulb lighting. Always test 2×2 foot paint samples on multiple walls, let them dry for 24 hours, and view them at different times of day (morning, midday, evening) before making your final decision.
Matching Wall Paint to Cabinets and Countertops
Your wall color should complement, not compete with, your existing cabinetry and countertops for a cohesive look:
- For dark green cabinetry, soft cream or warm white walls create a balanced, inviting contrast — you can find more matching wall palettes for green cabinets in our dedicated guide.
- Rustic brown shaker cabinets pair beautifully with warm beige, soft taupe, or muted sage wall colors; explore more coordinating color ideas for brown cabinetry here.
- If you have colorful quartz or granite countertops with visible veins, pull a subtle, muted version of that vein color for your walls to create a cohesive, intentional look without being matchy.
- For stainless steel appliances, avoid cool blue or gray walls that clash with stainless steel’s warm undertones; opt for warm neutrals to keep the space feeling unified.
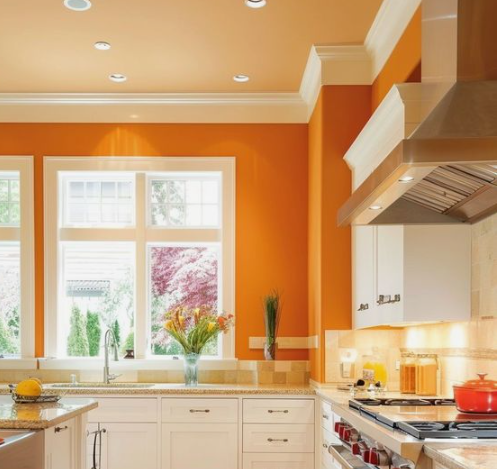 Example of a soft neutral wall finish paired with green cabinetry for a fresh, modern kitchen look.
Credit: www.jswpaints.in
Example of a soft neutral wall finish paired with green cabinetry for a fresh, modern kitchen look.
Credit: www.jswpaints.in
Critical Prep Steps for Long-Lasting Kitchen Wall Paint
Skipping proper wall prep is the number one cause of premature paint failure in kitchens: even the highest-quality paint will peel or bubble if applied to a dirty, unprepared surface. Follow these steps to ensure your paint adheres properly and lasts for years.
Prepping Around Kitchen Fixtures
To get crisp, even edges and avoid paint seeping into fixtures, remove all removable hardware from your kitchen walls before painting: this includes outlet covers, light switch plates, cabinet hardware, and wall-mounted faucets. If you have a wall-mounted kitchen faucet, removing it before painting ensures a clean, even edge around the mount and prevents paint from seeping into the fixture mechanism — follow our safe fixture removal steps to do this without damaging your plumbing.
Deep Cleaning Greasy Kitchen Walls
Kitchen walls have a hidden layer of grease from cooking that standard all-purpose cleaner won’t remove. To degrease properly:
- Mix a TSP substitute (trisodium phosphate alternative) with warm water according to package directions, or use a commercial kitchen degreaser.
- Wipe down all walls, paying extra attention to areas behind the stove, above the sink, and around the range hood, where grease buildup is heaviest.
- Rinse the walls with clean water, and let them dry completely for 24 hours before priming. Any trapped moisture will cause paint to peel as it cures. For stubborn, set-in grease stains, gently rub with a magic eraser, taking care not to scrub too hard and damage the drywall surface.
Repairing and Patching Imperfections
Fill all nail holes, cracks, and peeling paint with a lightweight spackling compound, using a putty knife to smooth it flush with the surrounding wall. Once the spackle is dry, sand the area smooth with 120-grit sandpaper, and wipe away dust with a damp cloth. For larger holes or water damage, use a drywall patch kit to repair the area before sanding smooth.
Priming for Adhesion and Stain Blocking
Primer is not optional for kitchen walls, even if you’re painting over a similar color. For areas with existing water stains, grease stains, or smoke damage from cooking, use a stain-blocking primer (like Kilz or Zinsser) to prevent stains from bleeding through the new topcoat. For new drywall or patched areas, use a standard interior primer to seal the porous surface and prevent the topcoat from soaking in unevenly, which causes patchy, inconsistent color. For detailed step-by-step guidance on prepping kitchen surfaces, including how to safely work around existing fixtures, the University of Minnesota Extension recommends a multi-step cleaning and priming process to ensure long-lasting paint adhesion University of Minnesota Extension interior painting best practices.
Expert Application Techniques for a Flawless Finish
Even the best paint will look unprofessional if applied incorrectly. Follow these expert techniques to get a smooth, even finish that looks like it was done by a professional.
Choosing Quality Brushes and Rollers
Your tool choice has a huge impact on your final finish:
- For water-based acrylic paint, use synthetic bristle brushes (nylon or polyester) that hold paint well and don’t shed bristles. Cheap natural bristle brushes will fall apart when used with water-based paint.
- For smooth drywall, use a 3/8-inch nap woven roller for even coverage without leaving roller marks. For lightly textured walls (orange peel texture), use a 1/2-inch nap roller to reach into crevices. For heavily textured walls (knockdown or popcorn), use a 1-inch nap roller for full coverage.
- For cutting in edges around trim, cabinets, and fixtures, use a 2.5-inch angled sash brush, which is designed to create crisp, clean lines without bleeding.
Cutting In and Rolling for Even Coverage
The key to a seamless finish is the "cut-in, then roll" method:
- First, use your angled sash brush to paint a 2-3 inch border along the ceiling, top of walls, trim, cabinets, and fixtures. This is called "cutting in."
- While the cut-in edge is still wet, use your roller to paint the large open areas of the wall, overlapping the cut-in edge slightly to blend it seamlessly and avoid hard, visible lines. Apply paint in thin, even coats, not thick globs, which cause drips and uneven drying. Let each coat dry completely (check the paint can for recommended dry time, usually 2-4 hours for water-based paint) before applying the next coat. Two coats are standard for most kitchen walls, but you may need a third coat if you’re painting over a dark color with a light shade, or using a low-quality paint.
Common Painting Mistakes to Avoid
Even experienced DIYers make these avoidable errors:
- Skipping the degreasing step: Grease under paint will cause peeling within a year, no matter how high-quality the paint is.
- Applying thick coats to save time: Thick coats take longer to dry, drip, and crack as they cure, requiring more work to fix than applying two thin coats.
- Painting in high humidity (above 60%): High humidity extends dry time, causes bubbling, and can lead to mold growth under the paint.
- Not taping off trim and fixtures carefully: Poor taping leads to messy, uneven edges that look unprofessional. If you’re painting around a wall-mounted faucet, take extra care to tape off the area tightly to avoid paint seeping into the faucet mechanism, which can cause leaks or operational issues later.
 Using an angled sash brush to cut in edges around cabinets and fixtures ensures crisp, professional-looking lines.
Credit: www.jswpaints.in
Using an angled sash brush to cut in edges around cabinets and fixtures ensures crisp, professional-looking lines.
Credit: www.jswpaints.in
Maintaining Your Kitchen Wall Paint for Maximum Longevity
With proper care, your kitchen wall paint will stay fresh and vibrant for 7-10 years. Follow these maintenance tips to extend its lifespan:
Cleaning Without Damaging Paint
For the first 30 days after painting, avoid cleaning the walls entirely to let the paint cure fully. After that, clean walls with a soft microfiber cloth and mild dish soap mixed with warm water. For grease splatters, use a gentle degreaser spray, testing it on a small, hidden area first to ensure it doesn’t discolor the paint. Avoid abrasive scrubbers, bleach, ammonia-based cleaners, or harsh all-purpose sprays, which can break down the paint’s finish and cause fading or discoloration.
Quick Touch-Up Tips
Save any leftover paint in an airtight container, stored in a cool, dark place (like a kitchen closet), labeled with the paint color, brand, and date of application. For small touch-ups (like scuffs from a chair or small grease stains), use a small artist’s brush to dab paint onto the area, rather than rubbing, to avoid spreading paint to surrounding areas. For larger touch-ups, you may need to repaint the entire wall section to blend the new paint seamlessly with the existing finish, especially for matte or satin paints.
When To Repaint
You should plan to repaint your kitchen walls every 7-10 years with regular maintenance, but you may need to repaint sooner if you notice:
- Widespread peeling, cracking, or bubbling paint
- Stubborn stains that won’t come out with cleaning
- Fading from prolonged sun exposure
- A desire to update your color scheme to match new cabinets or countertops
Frequently Asked Questions
What paint finish is best for kitchen walls?
For most kitchens, satin or semi-gloss acrylic latex paint is the best choice. Satin offers a subtle, low-sheen look that resists scuffs and wipes clean easily, making it ideal for general wall surfaces in low-to-medium moisture kitchens. Semi-gloss has a higher sheen, repels water and grease even more effectively, and is the top pick for high-moisture zones like the area around your sink, behind your stove, and on kitchen backsplashes. Avoid flat or matte finishes for any area of the kitchen that sees regular cooking or foot traffic, as they absorb grease and stains and are nearly impossible to clean without damaging the paint.
Can I use oil-based paint on kitchen walls?
Oil-based paint is not recommended for full kitchen walls for most homeowners. It is largely restricted for interior residential use in most U.S. states due to its high VOC content, strong fumes, and long drying times. It also requires mineral spirits for cleanup, making it far less convenient than water-based acrylic options. Oil-based paint is only suitable for trim, cabinets, or high-wear surfaces like door frames.
Should I choose washable paint for kitchen walls?
Yes, washable (or scrubbable) paint is essential for kitchen walls. Look for paints labeled as "scrubbable" or "stain-resistant," which are formulated to hold up to repeated cleaning without fading or wearing down. Most satin and semi-gloss acrylic latex paints are inherently washable, but premium kitchen-specific lines have extra additives that make them even more resistant to grease and scuffs.
What paint color is best for kitchen walls?
The best paint color for your kitchen depends on your layout, lighting, and existing fixtures. Light, cool shades (white, pale gray, soft blue) make small kitchens feel larger and brighter, while warm, dark shades (terracotta, navy, forest green) make large open kitchens feel cozier. Always test samples in your space before committing to a full coat.
Is flat paint ever okay for kitchen walls?
Flat paint is only appropriate for low-traffic kitchen nooks or dining areas that are far from cooking zones, where there is minimal grease and moisture exposure. Avoid flat paint anywhere near stoves, sinks, or high-traffic areas, as it absorbs stains and is impossible to clean without repainting.
How long does kitchen wall paint take to dry?
Water-based acrylic kitchen paint takes 2-4 hours to dry to the touch, and 24 hours to cure fully before you can clean it. Oil-based paint takes 6-8 hours to dry to the touch, and 72 hours to cure fully, which is another reason it is not recommended for full kitchen wall surfaces.
Conclusion
Choosing the right paint for your kitchen walls is a balance of aesthetics and performance. Prioritize a satin or semi-gloss acrylic latex finish, use a stain-blocking primer, and don’t skip the degreasing prep step to ensure your paint lasts as long as possible. Test paint samples in your kitchen’s unique lighting, and coordinate your wall color with your cabinets and countertops for a cohesive, polished look. If you’re finalizing your kitchen renovation color scheme, check out our guides to matching wall palettes for green kitchen cabinets and coordinating color ideas for brown cabinetry for expert, tested pairings that tie your whole space together.