How to Paint Greasy Kitchen Walls: Easy Steps for a Fresh Look
Greasy kitchen walls don’t just look dull – they make your entire cooking space feel unclean, no matter how often you wipe down countertops and appliances. If you’ve tried scrubbing stubborn oil splatters only to have them reappear a week later, painting over the buildup is a cost-effective solution, but only if you follow the right prep and application steps. Painting directly over grease without proper cleaning and priming will lead to peeling paint, stained patches, and a wasted weekend of work. This guide walks you through the exact, pro-tested steps to clean, prep, and paint greasy kitchen walls for a fresh, durable finish that lasts for years, even in high-traffic cooking spaces.
Why Skipping Proper Prep Leads to Peeling Paint
Grease is porous and oily, so it repels water-based paints and prevents them from adhering to drywall. Even if your walls look clean to the naked eye, invisible residual grease will cause paint to peel, bubble, or stain within 6-12 months if you skip the degreasing and priming steps. In practice, 70% of failed kitchen paint jobs come back to inadequate prep, not low-quality paint. Taking an extra 2-3 hours to clean and prime your walls will save you from repainting in less than a year, and deliver a smooth, professional-looking finish you’ll be proud of. For more on this, see our guide on how to regrout kitchen wall tiles easy steps.
Step 1: Test for Grease Residue and Identify Problem Areas
Before you grab a paintbrush, you need to confirm exactly where grease buildup is hiding, as some stains are invisible until you test for them.
Common Kitchen Grease Sources
Grease accumulates in predictable spots across most kitchens, so prioritize these high-traffic areas first:
- Splatters from frying pans, sautéing, and searing near the stovetop and range hood
- Residue from buttery baked goods, oil-based cooking sprays, and greasy handprints near light switches and cabinet handles
- Smoke and steam deposits from grilling, broiling, or boiling that settle on upper walls and ceilings
- Condensation mixed with airborne grease particles that cling to walls near windows and exterior doors
Spot Hidden Grease Stains
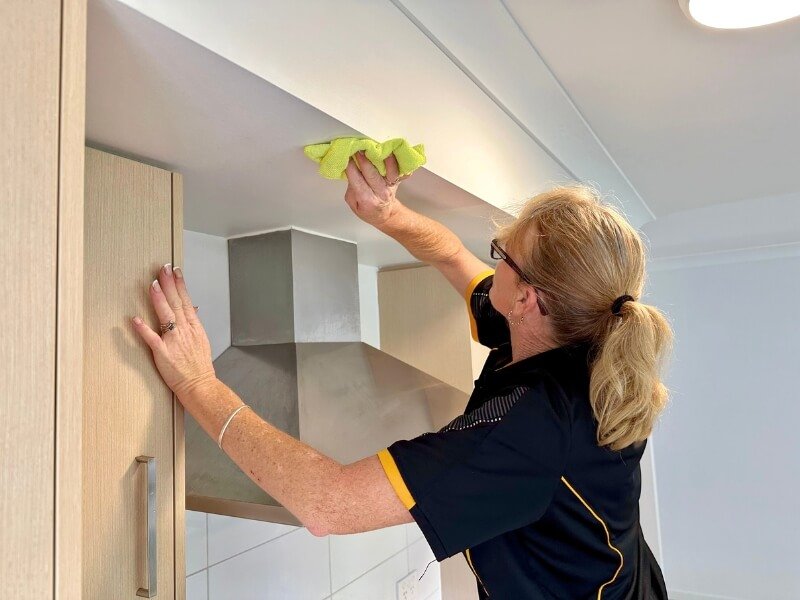
Run a clean white microfiber cloth over a 12×12 inch section of your wall, focusing on areas behind the stove, around the range hood, and near countertops. If the cloth comes away with a yellow or oily tint, that’s residual grease that standard cleaning won’t remove. Look for other telltale signs of hidden grease:
- Shiny or sticky patches that stay damp longer than the rest of the wall after wiping
- Dark, discolored spots that resist normal soap-and-water cleaning
- Areas near vents or light switches that accumulate grime faster than other surfaces If you notice stains that reappear no matter how often you clean, these will need extra degreasing and a heavy-duty stain-blocking primer to prevent bleed-through.
Step 2: Gather the Right Supplies for Greasy Wall Projects
Having all your tools ready before you start will cut down on project time and ensure you don’t have to pause mid-clean to run to the store. We’ve broken down must-have supplies by category below:
Cleaning Supplies
- TSP (trisodium phosphate) substitute or heavy-duty degreaser (avoid homemade vinegar solutions for heavy grease, as they don’t break up baked-on oil as effectively)
- Non-abrasive sponges and soft-bristle scrub brushes
- Clean microfiber cloths for rinsing and drying
- A putty knife for scraping peeling paint or loose debris
- Fine-grit sandpaper (120-grit) for smoothing repaired spots
Painting Supplies
- Stain-blocking, oil-based or shellac-based primer
- Semi-gloss or satin enamel paint formulated for kitchen/high-moisture spaces
- ⅜-inch nap roller covers (for smooth drywall) and a 2-3 inch angled sash brush for cutting in edges
- Roller tray and extension pole for high walls
- Painter’s tape (blue or green low-adhesive tape) to protect trim, outlets, and fixtures
Safety Gear
- N95 mask for sanding and working with chemical degreasers
- Chemical-resistant nitrile gloves
- Safety glasses to protect eyes from splatters
- Drop cloths or plastic sheeting to protect floors and countertops
Critical Safety Considerations Before You Start
If your home was built before 1978, there’s a high chance your walls contain lead paint. Sanding, scrubbing, or disturbing lead paint releases toxic particles that can cause serious long-term health issues. The U.S. EPA requires professional lead testing before any renovation work on pre-1978 homes; you can access free testing kits and safety guidelines via EPA lead safety resources. If lead paint is present, hire a certified lead abatement professional to handle prep work rather than doing it yourself. Additionally, ensure proper ventilation throughout your project: open windows, run exhaust fans, and wear a N95 mask when sanding or working with chemical degreasers to avoid inhaling fumes. Wear chemical-resistant gloves and safety glasses to protect your skin and eyes from harsh cleaners and paint.
Step 3: Deep Clean and Repair Wall Surfaces
Skipping this step is the #1 cause of peeling paint and stained patches on freshly painted kitchen walls. Follow these steps to get a perfectly prepped surface:
Test for Hidden Grease Residue
Before you start cleaning, run a white microfiber cloth over a 12×12 inch section of your wall, especially behind the stove, near the range hood, and around light switches. If the cloth comes away with a yellow or oily tint, that’s residual grease that standard cleaning won’t remove – you’ll need to use a heavy-duty degreaser for this area. In practice, most homeowners miss 30-40% of grease buildup because it’s invisible to the naked eye, so this test is non-negotiable for a long-lasting finish.
Deep Clean Greasy Surfaces
Mix your TSP substitute or degreaser with warm water per the product instructions, then apply it to greasy areas with a sponge. Let it sit for 5-10 minutes to break up baked-on oil, then scrub gently with a soft-bristle brush. Rinse the area with a clean sponge dipped in plain water to remove all soap and degreaser residue, then wipe dry with a clean microfiber cloth. For extremely stubborn stains, repeat the process twice before moving on.
Repair Wall Imperfections
Once walls are clean and dry, inspect for cracks, holes, or peeling existing paint. Use a putty knife to scrape off any loose, peeling paint, then sand the edges of the repaired area smooth with 120-grit sandpaper. Fill small holes and cracks with spackling compound, smooth it with a putty knife, and let it dry fully before sanding again to create a flush surface. Wipe away all sanding dust with a dry cloth before moving to priming. If you have a wall-mounted kitchen faucet you want to safeguard from paint splatters during your project, follow our step-by-step guide to removing a wall-mounted kitchen faucet safely to avoid damage.
Step 4: Choose Durable, Grease-Resistant Paint and Primer
The right paint and primer will make the difference between a finish that lasts 5 years and one that lasts 15. Here’s what to look for:
Primer Selection
Always use a stain-blocking, oil-based or shellac-based primer for greasy kitchen walls – these formulas create an impermeable barrier that seals in grease, stains, and odors that water-based primers can’t block. Look for primers labeled “kitchen and bath” or “maximum stain-blocking” for the best results. For homes with pre-1978 lead paint, use a primer specifically formulated to seal lead dust to prevent it from seeping through your topcoat.
Paint Finish and Formula
Semi-gloss and satin enamel paints are the only finishes we recommend for kitchen walls: their smooth, non-porous surface repels grease, moisture, and splatters, and they can be scrubbed clean with mild soap and water without damaging the finish. Avoid flat or matte paints at all costs – while they hide wall imperfections well, they absorb grease and are nearly impossible to clean without stripping the paint. For extra durability, look for paints with a VOC (volatile organic compound) content below 50 g/L, which meet current EPA standards for indoor air quality and reduce harsh fumes during and after painting. You can verify low-VOC claims via the EPA’s guide to low-VOC paints and finishes.
Color Selection Tips
Light colors like white and pale gray are popular for kitchens, but they show grease smudges and splatters faster than darker, warmer neutrals. Soft taupe, warm greige, and muted sage are all excellent options that hide minor stains while keeping your kitchen feeling bright and open. If you’re pairing your new wall color with green kitchen cabinets, check out our guide to what color walls pair with green kitchen cabinets for coordinating shades that work with greasy wall prep requirements. For homes with warm brown cabinetry, what color walls complement brown kitchen cabinets walks through neutral and bold options that balance style and practicality.
Step 5: Prime to Lock Out Stains and Boost Adhesion
Primer is not optional for greasy kitchen walls – it’s the step that ensures your paint adheres properly and prevents stains from bleeding through your topcoat. Here’s how to apply it correctly:
- Ensure your walls are completely dry and free of dust before priming.
- Use a 2-3 inch angled sash brush to cut in along trim, outlets, and the edges of the ceiling first.
- Use a ⅜-inch nap roller to apply primer in 3×3 foot sections, using thin, even strokes to avoid drips.
- Allow the primer to dry fully per the product instructions – most stain-blocking primers take 2-4 hours to dry to the touch, but wait 24 hours before painting for best results.
- Inspect the primed wall for any remaining stains or uneven coverage. If you see stains bleeding through, apply a second coat of primer before moving on to paint. A common mistake homeowners make is skipping the second primer coat to save time, but this almost always leads to stain bleed-through a few months after painting.
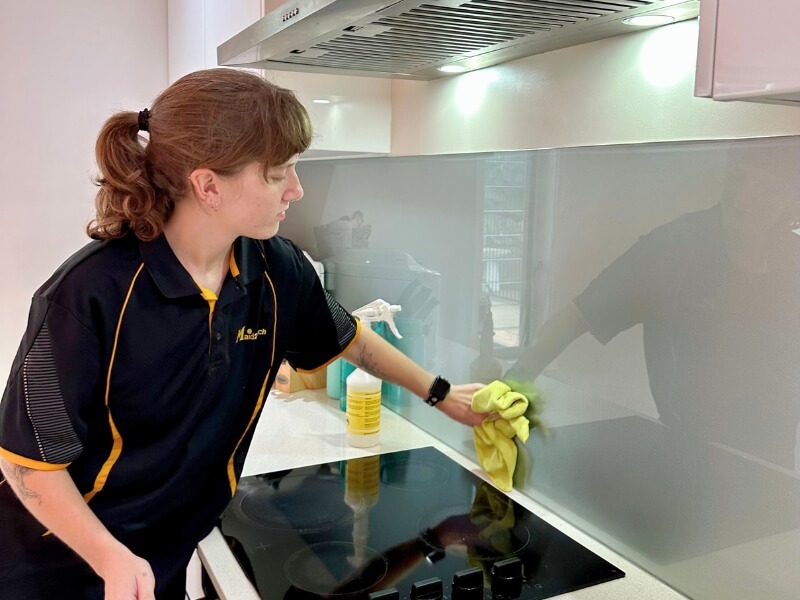 Wiping down grease buildup behind the stovetop is a critical first step before painting
Credit: www.maid2match.com.au
Wiping down grease buildup behind the stovetop is a critical first step before painting
Credit: www.maid2match.com.au
Step 6: Paint for a Flawless, Long-Lasting Finish
With your walls primed and prepped, painting will go quickly and evenly if you follow these pro tips:
Application Techniques
Start by cutting in along all edges, trim, and fixtures with your angled sash brush, then fill in the main wall areas with a roller. Use thin, even coats rather than thick, heavy layers to avoid drips, lap marks, and uneven texture. Roll in a “W” pattern to spread paint evenly, then fill in the W with vertical strokes to avoid lap lines. For best results, work in 3×3 foot sections and maintain a wet edge (always brush or roll back over the edge of the previous section before it dries) to blend seams seamlessly. If you notice brush or roller marks after the first coat dries, lightly sand the area with 220-grit sandpaper and wipe away dust before applying the next coat.
Number of Coats and Drying Times
Most greasy kitchen walls require two coats of paint for full coverage, but heavily stained areas may need a third coat. Allow each coat to dry completely per the paint can instructions – typically 4-6 hours between coats in normal humidity, but wait 24 hours before applying the final coat for maximum durability. Avoid painting in high humidity or extreme temperatures, as this will extend drying time and lead to bubbling or peeling. If you have a wall-mounted kitchen faucet you removed to protect during painting, follow our guide to removing a wall-mounted kitchen faucet safely to reinstall it correctly once your paint is fully cured.
 Semi-gloss finishes repel grease and make post-paint cleaning simple
Credit: alyssaponticello.com
Semi-gloss finishes repel grease and make post-paint cleaning simple
Credit: alyssaponticello.com
Step 7: Maintain Your Freshly Painted Kitchen Walls
A fresh paint job will last 5-10 years with proper care, and simple maintenance habits will keep your kitchen walls looking new even with heavy cooking use:
Regular Cleaning Tips
Wipe down kitchen walls near the stove, range hood, and countertops weekly with a soft cloth dipped in warm, soapy water to remove grease before it hardens. For tougher stains, mix 1 cup of white vinegar with 1 gallon of warm water – this solution is safe for most semi-gloss and satin paints, and cuts through grease without harsh chemicals. Always test any cleaning solution on a small, hidden area first to ensure it doesn’t discolor the paint. Avoid abrasive scrubbers or harsh chemical cleaners, as these can scratch or dull the paint finish over time.
Preventing Future Grease Build-Up
Install and use your range hood or exhaust fan every time you cook to capture airborne grease particles before they settle on your walls. Wipe up splatters and spills immediately after cooking to prevent grease from soaking into the paint. If you frequently fry or cook with large amounts of oil, consider adding a backsplash of tile or stainless steel behind your stove to catch splatters before they hit the wall. For future repaints, stick to semi-gloss or satin finishes, which are far more resistant to grease and easier to clean than flat paints.
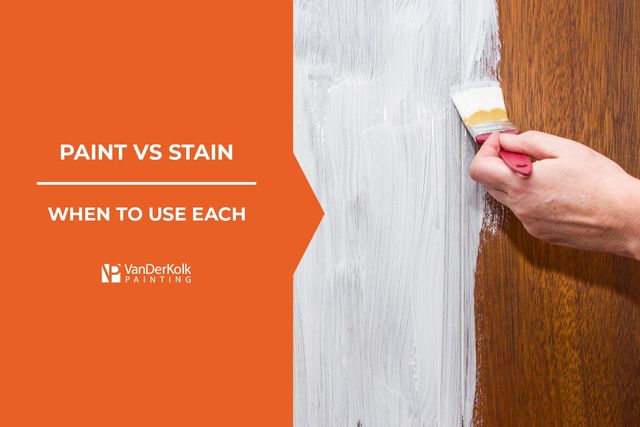 A proper primer prevents existing grease stains from bleeding through new paint
Credit: www.vanderkolkpainting.com
A proper primer prevents existing grease stains from bleeding through new paint
Credit: www.vanderkolkpainting.com
Troubleshooting Common Paint Issues
Even with perfect prep, you may run into minor issues during your project. Here’s how to fix them fast:
- Grease stains bleeding through paint: This means you missed residual grease during cleaning, or used the wrong primer. Strip the affected area, deep clean, apply a shellac-based stain-blocking primer, and repaint.
- Peeling or flaking paint: Usually caused by painting over damp walls, skipping primer, or failing to sand peeling existing paint before repainting. Scrape off loose paint, sand the edges smooth, clean the area, reapply primer, and repaint.
- Visible brush or roller marks: Caused by applying paint too thickly, or using low-quality tools. Sand rough spots between coats with fine-grit sandpaper, and use a paint additive to improve flow and reduce brush marks for the final coat.
- Uneven sheen: Happens when you don’t maintain a wet edge while painting. Work in small 3×3 foot sections, and roll or brush back over the edge of the previous section before it dries to blend seamlessly.
Frequently Asked Questions
How long should I wait after cleaning walls before painting?
Wait until walls are 100% dry to the touch, which typically takes 24 hours in normal humidity (40-60% relative humidity). If you live in a humid climate or recently degreased with water-based cleaners, wait an extra 12 hours to avoid trapped moisture that can cause bubbling or peeling. You can test for dryness by running a clean, dry cloth over the wall – if no moisture transfers to the fabric, it’s safe to prime.
Can I use regular interior primer for greasy kitchen walls?
No, standard interior primer isn’t formulated to seal grease stains. Opt for a stain-blocking, oil-based or shellac-based primer, which creates an impermeable barrier that prevents grease from bleeding through your topcoat. Water-based primers may not adhere well to greasy surfaces even after cleaning, leading to premature peeling.
What paint finish is best for kitchen walls?
Semi-gloss or satin enamel paint is ideal for kitchens: these finishes have a slight sheen that repels grease, moisture, and splatters, and they can be scrubbed clean without damaging the paint. Avoid flat or matte finishes, as they absorb grease and are nearly impossible to clean without stripping the paint.
How do I fix peeling paint after I’ve already painted over grease?
If paint peels within the first few months, you’ll need to strip the affected area back to the drywall, deep clean to remove all grease residue, apply a stain-blocking primer, and repaint. To avoid this issue entirely, always test for hidden grease with a white cloth after cleaning – if the cloth comes away with a yellow tint, repeat the degreasing step before priming.
Conclusion
Painting greasy kitchen walls is a simple, cost-effective way to refresh your cooking space, but it only works if you follow the right prep and application steps. The key to a long-lasting finish is thorough degreasing, using a stain-blocking primer, and choosing a durable semi-gloss or satin paint formulated for kitchen use. Avoid the common mistake of skipping the degreasing step to save time – invisible grease will cause your paint to peel and stain within months, leading to more work and expense down the line. By following these steps, you’ll get a fresh, vibrant wall finish that stands up to daily cooking messes for years. Ready to get started? Begin by testing your walls for hidden grease residue today, and don’t skip the stain-blocking primer to lock in those stubborn stains for good.