How to Open Up Kitchen Wall: Easy Steps for a Spacious Look
Dreaming of a brighter, more flowing kitchen that feels twice the size of your current space? Removing a section of your kitchen wall is one of the highest-impact, mid-cost renovations you can tackle to boost natural light, improve traffic flow, and increase your home’s resale value. While the project may seem intimidating at first, careful planning, adherence to safety guidelines, and attention to structural requirements will help you avoid costly mistakes and achieve the open, airy kitchen you’ve been envisioning. This guide walks you through every step of the process, from assessing your wall’s structural role to finishing the new opening with style, with 2026 best practices for DIYers and homeowners alike.
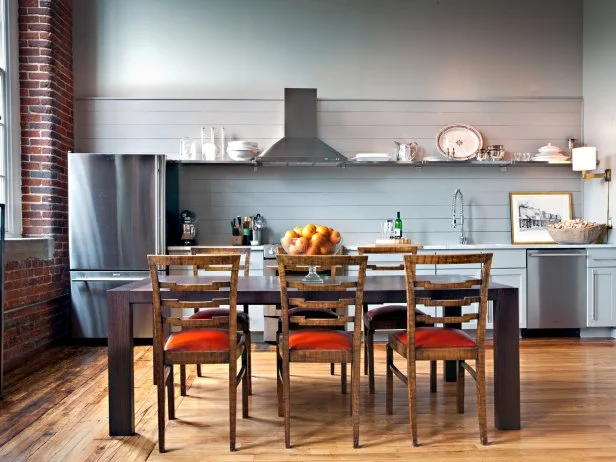 Image source: www.hgtv.com
A fully removed load-bearing wall with a visible support beam creates a seamless, light-filled open kitchen layout in this modern loft conversion.
Image source: www.hgtv.com
A fully removed load-bearing wall with a visible support beam creates a seamless, light-filled open kitchen layout in this modern loft conversion.
First, Confirm If Your Wall Can Be Removed
Before you pick up a sledgehammer, you need to verify two critical details: whether the wall is load-bearing, and what hidden utilities run through it. Skipping this step can lead to catastrophic structural damage, expensive utility repairs, or even safety hazards. Most wall removal projects also require a building permit, so you’ll need to account for that early in your planning. For more on this, see our guide on how to regrout kitchen wall tiles easy steps.
Identify Load-Bearing vs. Non-Load-Bearing Walls
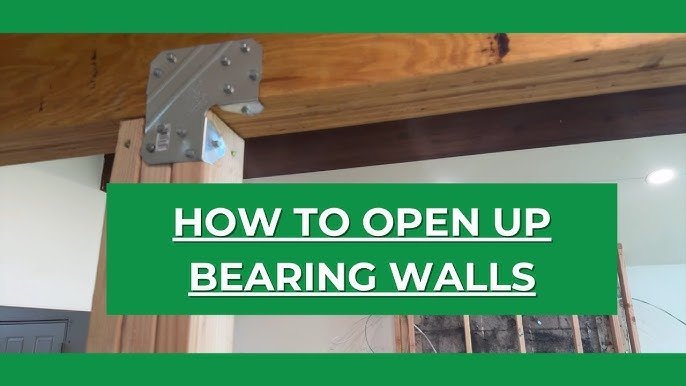
Not all walls are created equal: load-bearing walls support the weight of your home’s roof, upper floors, and ceilings, while non-load-bearing walls only hold up their own weight. A common DIY mistake is assuming a wall with light switches, outlets, or decorative trim is non-load-bearing—wiring and plumbing can run through either wall type, so these features are not a reliable indicator. To identify a load-bearing wall:
- Check if the wall runs perpendicular to your floor joists in the basement or crawl space; walls aligned with joists are usually non-load-bearing.
- Look for support beams, posts, or columns directly above or below the wall—these are almost always load-bearing.
- Review your home’s original blueprints if available, or hire a structural engineer ($300-$700 on average) for a definitive assessment if you’re unsure. Removing a load-bearing wall without proper support can cause sagging ceilings, cracked foundations, or even partial collapse, so never proceed without confirmation.
Locate and Plan for Hidden Utilities
Walls hide a maze of plumbing, electrical, gas, and HVAC lines that can turn a simple demolition project into a costly repair if damaged. Before you start work:
- Call 811 (the U.S. utility notification service) at least 3 business days before your start date to have all underground utility lines marked for free.
- Use a stud finder with live wire detection to locate in-wall electrical wiring, and check for water supply lines, drain pipes, and gas lines in basement or crawl space access points.
- If you find utilities in the wall, budget $500-$2,000 for rerouting by a licensed professional. Gas lines, in particular, must be relocated by a certified plumber to meet safety codes.
Secure Required Permits
Nearly all jurisdictions require a building permit for load-bearing wall removal, and many require permits for non-load-bearing projects that involve rerouting utilities or modifying structural elements. Permit costs typically range from $200-$1,000, depending on your location and project scope. Skipping permits can lead to fines of up to $10,000, or require you to rebuild the wall entirely when you sell your home, as unpermitted work will show up on property inspections. Most U.S. jurisdictions enforce structural and safety rules outlined in the International Residential Code (IRC) for wall removal projects, so always check local requirements before starting.
Plan Your Open Wall Layout and Design
The shape and style of your new opening will dictate how the space feels and functions for years to come. Take time to evaluate your lifestyle, existing home style, and long-term needs before finalizing your design.
Choose Your Opening Style
There are three common configurations for kitchen wall removals, each with unique benefits:
- Full removal: Eliminates the wall entirely for maximum flow and light, ideal for open-concept layouts. Requires a support beam if the wall is load-bearing, and works best for homeowners who entertain frequently.
- Half-wall or pass-through: Removes the upper half of the wall, leaving a waist-high counter or partition. This keeps some noise separation between the kitchen and living areas, adds extra counter space, and rarely requires structural support for non-load-bearing walls.
- Exposed beam opening: Removes the full wall but leaves the support beam (steel or engineered wood) visible for an industrial, modern aesthetic. This option works well for farmhouse or contemporary home styles.
 Image source: www.reddit.com
This partial wall removal with a waist-high half-wall preserves structural support while opening up the kitchen to adjacent living space, ideal for low-noise separation.
Image source: www.reddit.com
This partial wall removal with a waist-high half-wall preserves structural support while opening up the kitchen to adjacent living space, ideal for low-noise separation.
Account for Hidden Systems
Beyond utilities, don’t forget to plan for HVAC vents, ductwork, or air returns that may be routed through the wall. Relocating vents can add $300-$1,200 to your project cost, but skipping this step will leave you with inconsistent heating and cooling in your new open space. If you live in an older home with outdated knob-and-tube wiring or asbestos in the drywall, you’ll need to budget for full abatement and replacement by a licensed professional to meet 2026 safety standards.
Match Finishes to Your Existing Home
To make the new opening feel intentional rather than mismatched, choose paint, trim, and flooring that aligns with your home’s existing style. If you have green kitchen cabinets, paint shades for green cabinets will tie the new open space to your existing cabinetry for a cohesive look. For homes with warm brown cabinetry, wall colors for brown cabinets ensures the renovation feels seamless, not disjointed. Extending your existing flooring through the new opening is a simple trick designers use to eliminate visual boundaries and make the space feel even larger.
Gather Tools, Materials, and Safety Gear
Having all your supplies on hand before you start demolition will save you dozens of trips to the hardware store and reduce project delays. Prioritize safety gear first, as demolition work carries high risks of injury from sharp debris, dust, and falling materials.
Essential Tools for Wall Removal
For non-load-bearing walls, you’ll need:
- Utility knife (for scoring drywall to minimize mess)
- Pry bar and hammer (for removing drywall and trim)
- Reciprocating saw with a demolition blade (for cutting through studs 2x faster than standard blades)
- Stud finder with live wire detection
- Shop vac (for cleaning dust as you work)
- Dust sheet and painter’s tape (for containing mess) If you’re removing a load-bearing wall, you’ll also need temporary support materials: 2×4 lumber, jack posts, and a level to ensure the temporary wall is plumb before you remove the original framing.
Safety Gear and OSHA-Recommended Precautions
Demolition work creates airborne silica dust from drywall, sharp splinters from wood, and loud noise from power tools, all of which pose long-term health risks if unprotected. Follow OSHA's recommended safety standards for residential demolition to minimize risk:
- N95 or higher respirator: Drywall dust contains silica, a carcinogen that can cause permanent lung damage; a standard dust mask is not sufficient for extended work.
- Safety glasses with side shields: Protect against flying drywall chips, splinters, and dust.
- Cut-resistant work gloves: Prevent cuts from sharp studs, nails, and drywall edges.
- Ear protection: Reciprocating saws and hammers can produce noise over 100 decibels, which causes permanent hearing damage with extended exposure. Always turn off power to the kitchen at your main breaker and verify it’s off with a voltage tester before touching any wires, and never work alone on demolition projects.
Materials You’ll Need
In addition to tools, stock up on these supplies before you start:
- Support beam (if required: engineered wood I-joist or steel, sized by a structural engineer for your span and load)
- Drywall, joint compound, drywall tape, and 120-grit sandpaper for finishing
- Paint, primer, and trim to match existing finishes
- Fasteners, construction adhesive, and caulk for securing the beam and finishing surfaces
- Utility relocation supplies (conduit, wire, pipe fittings) if you’re rerouting utilities
Prepare the Workspace to Avoid Damage
Proper preparation will protect your home’s existing finishes and reduce cleanup time after the project is complete. Spend 1-2 hours on prep before you start demolition to save hours of work later.
Clear and Protect the Area
Remove all items within 10 feet of the wall, including small appliances, dishware, and countertop decor. Cover floors with 6mil plastic sheeting (more durable than drop cloths for dust and water protection) secured with painter’s tape, and seal off adjacent rooms with plastic sheeting to contain dust. Wrap furniture in moving blankets or plastic sheeting to protect it from scratches and dust.
Disconnect Attached Fixtures and Utilities
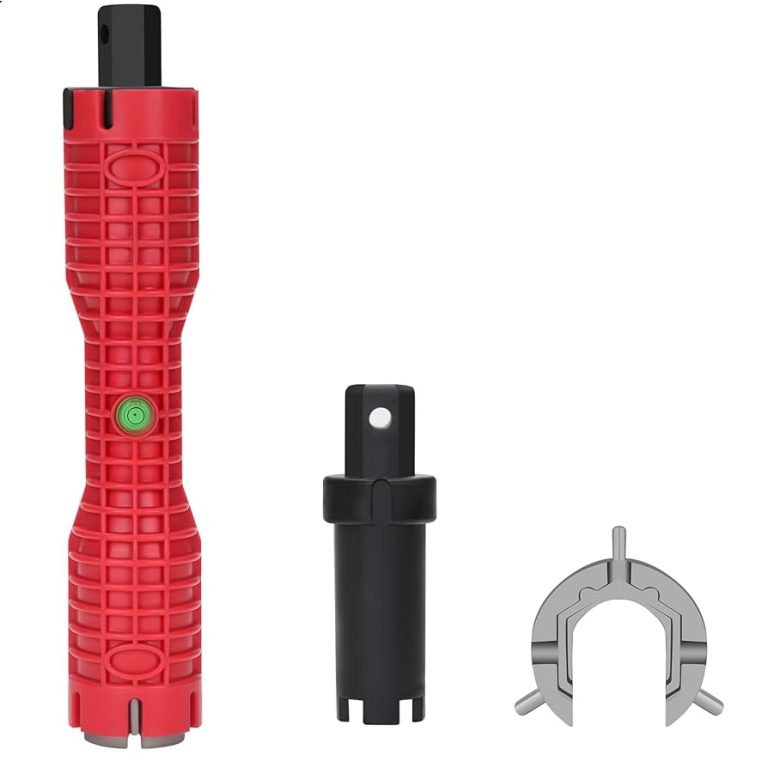
If your wall has a wall-mounted faucet attached, consult our guide to removing a wall-mounted faucet to avoid water damage before you start demolition. Shut off water supply lines to any fixtures on the wall, and cap open pipes to prevent leaks. Remove all cabinets, light fixtures, and trim attached to the wall, and label all wires and pipes you disconnect for easy reinstallation later.
Demolish the Wall Safely and Efficiently
Once your workspace is prepped and permits are approved (if required), you can start demolition. Work slowly and methodically to avoid damaging adjacent walls, ceilings, or floors.
Step-by-Step Demolition Process
- Set up temporary support (for load-bearing walls only): Build a temporary support wall 1 foot away from the wall to be removed, using 2x4s and jack posts, and leave it in place until the permanent beam is installed and inspected.
- Remove drywall: Score the drywall along your cut lines with a utility knife, then pry off large sheets with a pry bar to minimize dust and mess. Remove all drywall from both sides of the wall before moving to framing.
- Cut and remove studs: Use a reciprocating saw to cut through each stud from the top plate down to the bottom plate, then remove studs in 2-3 foot sections. Work from the top down to avoid having studs fall on you.
- Remove top and bottom plates: Carefully pry off the top and bottom plates, checking for nails or screws attached to adjacent walls or ceilings. Use a pry bar to avoid damaging surrounding drywall.
- Address unexpected issues: If you encounter hidden utilities, damaged framing, or mold, stop work immediately and call a licensed professional to resolve the issue before proceeding.
Manage Debris and Waste
Separate drywall, wood, and metal debris for recycling, as many municipalities offer free or low-cost drop-off for these materials. Renting a 10-yard dumpster for a week costs $300-$500 on average, which is worth the convenience for large projects. Dampen drywall dust before sweeping to reduce airborne particles, and wear cut-resistant gloves when handling sharp debris. Dispose of all materials according to local regulations to avoid fines.
Reinforce the Structure and Finish the Opening
Once the wall is removed, you’ll need to add permanent support (if required) and finish the new opening to blend it seamlessly with your existing home.
Install Permanent Support (If Required)
For load-bearing walls, a structural engineer will specify the correct size and type of beam for your span (distance between supports) and home load. Steel beams are stronger and take up less space than engineered wood, but are more expensive ($1,000-$3,000 vs. $500-$2,000 for wood). A common DIY mistake is using an undersized beam to save money, which leads to sagging over time and costly repairs later. Most jurisdictions require a structural inspection after beam installation, before you cover it with drywall.
Patch Drywall and Finish Surfaces
Cut new drywall to size to fill the gap around the beam and the edges of the opening, then secure it to the framing with drywall screws. Apply 2-3 coats of joint compound, sanding between each coat with 120-grit sandpaper for a smooth, seamless finish. If your home has textured walls (orange peel, knock-down), use an aerosol texture spray to match the existing finish before painting. For a brighter, more spacious feel, paint the new drywall a shade lighter than your existing walls, or add an accent wall to highlight the new opening.
Final Inspection and Code Compliance
If you pulled a permit, schedule a final inspection with your local building department to sign off on the work. This ensures your renovation meets all structural and safety codes, which is critical for resale value and insurance coverage. Keep all inspection records and permit paperwork on file for future reference.
Enhance Your New Open Kitchen for Function and Style
With the structural work complete, small design updates will make your new open space feel functional, inviting, and cohesive with the rest of your home.
Add Layered Lighting
Open kitchens need even, bright lighting to avoid dark corners. Combine recessed lights in the ceiling for general illumination, pendant lights over any new counter space for task lighting, and under-cabinet LED strips for ambient light. Installing dimmer switches lets you adjust the brightness for different times of day, from bright task lighting for meal prep to soft glow for entertaining.
Incorporate Open Storage
Open shelving or floating shelves add storage without blocking sightlines between the kitchen and adjacent rooms, preserving the open, airy feel. Use sturdy materials like thick wood or metal to match your home’s style, and keep shelves organized with everyday dishware and glassware to avoid clutter. If you want to keep some items out of sight, add a few closed cabinets below the open shelves for a balanced look.
 Image source: www.create-enjoy.com
Floating thick wood open shelving adds accessible storage and visual openness to a post-wall-removal kitchen, without blocking sightlines between rooms.
Image source: www.create-enjoy.com
Floating thick wood open shelving adds accessible storage and visual openness to a post-wall-removal kitchen, without blocking sightlines between rooms.
Maintain Visual Flow
Extend your existing flooring through the new opening to eliminate visual boundaries between rooms, and use the same baseboard style as the rest of your home to make the renovation feel seamless. If you added a half-wall, adding a narrow trim board to the top edge will give it a finished, professional look.
Frequently Asked Questions
How do I know if my kitchen wall is load-bearing?
Check your home’s blueprints, look for support posts or beams directly above/below the wall in your basement or crawl space, or hire a structural engineer for a definitive assessment. Walls that run perpendicular to floor joists are far more likely to be load-bearing, but never assume a wall is non-load-bearing without confirmation.
What tools are needed to open a kitchen wall?
For non-load-bearing walls, you’ll need a utility knife, pry bar, hammer, reciprocating saw, stud finder, shop vac, and safety gear. For load-bearing walls, add temporary support materials (2x4s, jack posts) and the specified support beam for permanent installation.
Can I open a kitchen wall without professional help?
Non-load-bearing, partial wall openings are manageable for experienced DIYers with careful planning. Load-bearing wall removal always requires a licensed structural engineer to size the support beam, and most homeowners hire a contractor for beam installation and drywall finishing to avoid structural damage. A common mistake is attempting to remove a load-bearing wall without professional support, which can cause catastrophic structural damage.
How much does it cost to open up a kitchen wall?
Non-load-bearing partial openings cost $800-$2,500 on average, while load-bearing full removals with beam installation cost $3,000-$10,000, depending on your span, location, and permit fees. Most real estate agents note that open kitchen renovations deliver a strong return on investment at resale, as open layouts are a top priority for many home buyers.
Do I need a permit to open a kitchen wall?
Yes for nearly all load-bearing wall removals, and many non-load-bearing projects that involve rerouting utilities or modifying structural elements. Permit costs average $200-$1,000, and skipping permits can lead to fines or required restoration of the wall when selling your home.
How long does a kitchen wall removal project take?
Non-load-bearing partial openings take 1-2 weekends for DIYers, while load-bearing full removals with beam installation take 3-6 weeks, depending on contractor availability and inspection timelines.
Opening up a kitchen wall is a rewarding project that transforms a cramped, dark space into a bright, functional hub for your family. While it requires careful planning, attention to structural safety, and adherence to local codes, the result is a home that feels larger, more inviting, and more valuable. Start by confirming your wall’s structural role, secure any required permits, and don’t hesitate to hire licensed professionals for utility rerouting or beam installation if you’re unsure of any step. With patience and attention to detail, you’ll be enjoying your spacious new open kitchen in no time. Once your renovation is complete, updating your kitchen’s hardware and fixtures can finish the modern, cohesive look—find faucet removal steps to take out old fixtures and install a new, stylish faucet.