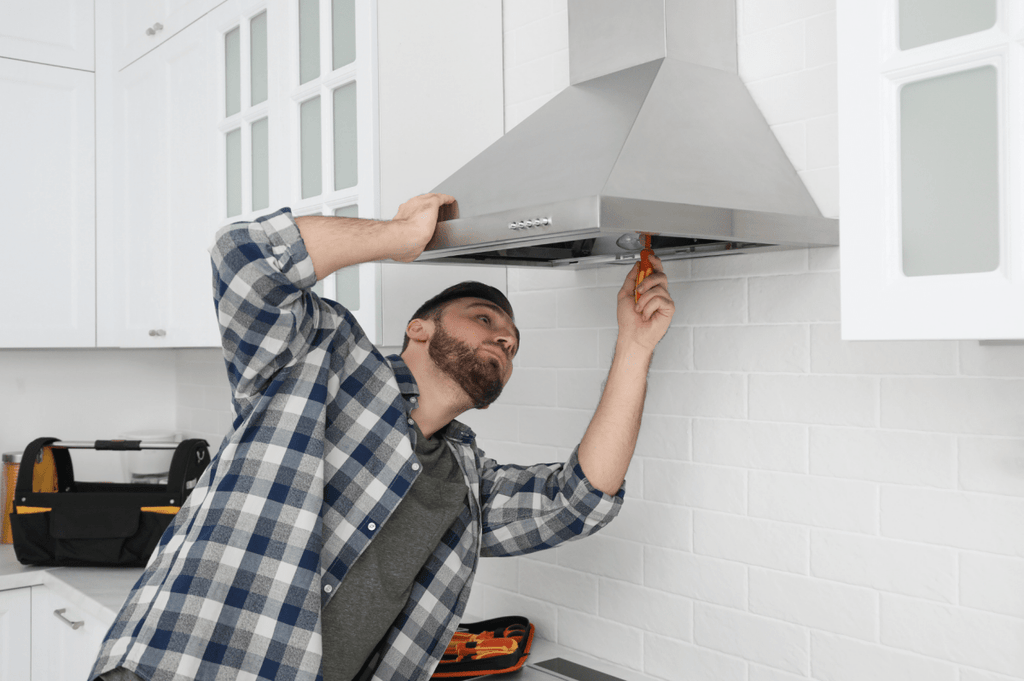
How to Install Exhaust Fan in Kitchen Wall: Easy Step-by-Step Guide
Lingering cooking smells, grease stains on your walls, and excess humidity that warps cabinets and triggers mold growth are all signs your kitchen needs better ventilation. A properly installed wall-mounted exhaust fan solves all these issues by pulling smoky, moist air directly outside instead of recirculating it through your home. Proper kitchen ventilation reduces indoor air pollutants and moisture buildup that can trigger asthma and mold growth, per EPA indoor air quality recommendations, making this a high-impact DIY project for any homeowner.
This guide walks you through every step of the process, from planning and material selection to wiring, mounting, and troubleshooting, with practical tips to avoid common mistakes that leave DIYers with poor airflow or code violations. Even if you have limited electrical or carpentry experience, you can complete this installation in a single weekend for a fraction of the cost of hiring a professional.
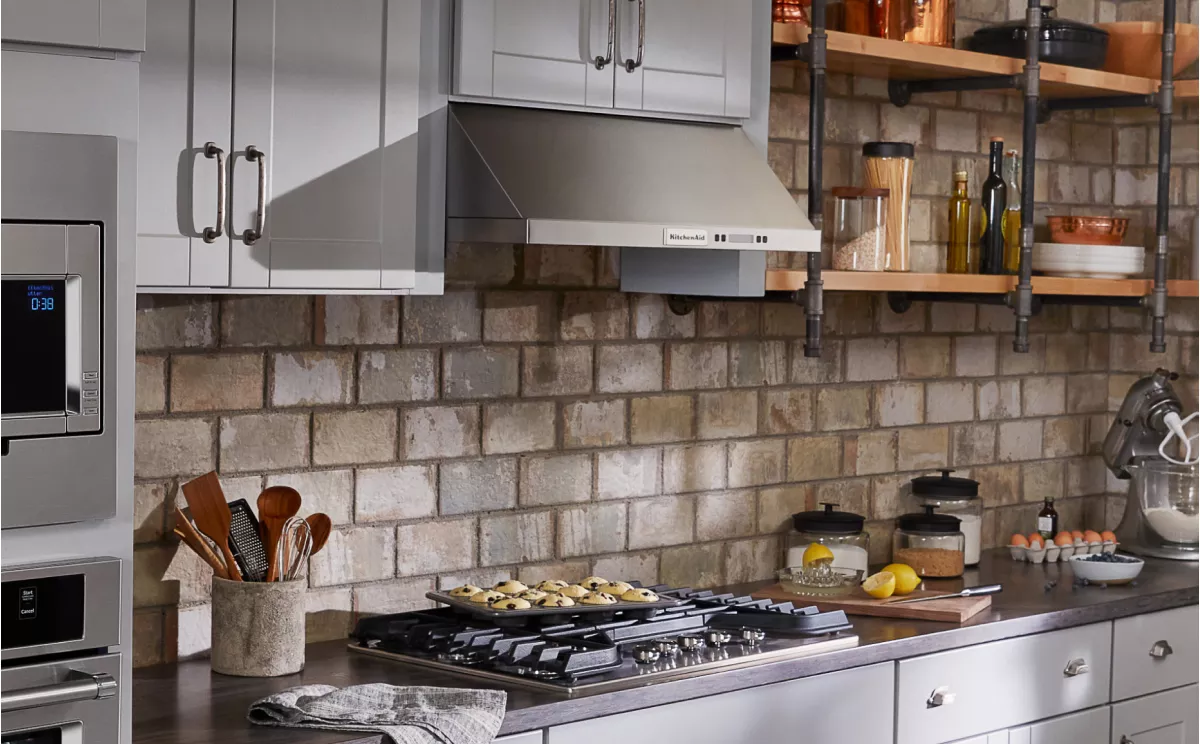 A properly sized wall-mounted exhaust fan captures cooking fumes at the source.
Credit: www.kitchenaid.com
A properly sized wall-mounted exhaust fan captures cooking fumes at the source.
Credit: www.kitchenaid.com
Pre-Installation Planning & Prep
Skipping pre-installation checks is the most common cause of failed exhaust fan projects, so spend 30 minutes upfront to avoid costly rework later.
Verify Local Building Codes
Many jurisdictions require permits for new exhaust fan installations, especially if you are modifying electrical wiring or running new ductwork. Contact your local building department to confirm requirements, and note any rules for vent termination (most require exhaust vents to be at least 3 feet from windows, doors, or other building openings to avoid backdrafts).
Assess Your Wall and Venting Path
Identify your wall type: drywall, plaster, brick, or stone? This determines the drill bits, anchors, and saws you’ll need. For brick or stone walls, you’ll need a masonry bit and concrete screws, not standard drywall hardware. Next, map the shortest, straightest path from your planned fan location to the exterior of your home. Never vent into an attic, crawl space, or interior wall cavity—trapped grease and moisture in these spaces causes mold, wood rot, and pest infestations that cost thousands to remediate. Use a stud finder to mark the location of studs, plumbing stacks, and electrical boxes along the vent path to avoid cutting through them.
Calculate Your Required CFM
CFM (cubic feet per minute) measures how much air your fan moves per minute. To size your fan correctly:
- Calculate your kitchen’s total cubic footage: length (ft) x width (ft) x height (ft)
- Multiply by 15 (the recommended number of air changes per hour for kitchens, per industry ventilation standards)
- Divide by 60 to get the required CFM For example, a 10x12x8 ft kitchen has 960 cubic feet of air, so it needs a 240 CFM fan (960 * 15 / 60 = 240). Undersized fans won’t remove fumes effectively; oversized fans are noisy and can create negative air pressure that backdrafts gas appliance fumes into your home.
Prepare for Safety
Turn off power to the kitchen’s small appliance circuit at your main breaker panel, and verify power is off with a non-contact voltage tester before touching any wiring. Always turn off power at the circuit breaker before handling any wiring, and verify the power is off with a voltage tester, per OSHA’s electrical safety guidelines to avoid electric shock.
Tools and Materials You’ll Need
Having all supplies on hand before you start cutting will save you time and avoid frustrating mid-project trips to the hardware store.
Essential Tools
- Stud finder
- Hole saw (0.5 inches larger than your fan’s mounting frame diameter)
- Jigsaw or reciprocating saw (for masonry or thick plaster walls)
- Measuring tape, pencil, and 2-foot level
- Drill with standard and masonry bits (as needed for your wall type)
- Wire strippers, wire nuts, and electrical tape
- Non-contact voltage tester
- Safety goggles, dust mask, and work gloves
Required Materials
- Wall-mounted exhaust fan (rated for kitchen use, with a built-in damper)
- Rigid aluminum vent ducting (match diameter to your fan’s outlet, usually 4, 6, or 8 inches)
- Exterior wall vent cap with a built-in damper
- HVAC-rated foil tape and metal duct clamps
- Silicone caulk
- Wall anchors and mounting screws (rated for your wall type)
- Wire connectors (if tapping into an existing circuit) Pro tip: Pre-assemble the fan and a short section of duct before cutting your wall opening to confirm all parts fit and align with your exterior vent location.
Choosing the Right Exhaust Fan
Not all exhaust fans are built for kitchen use, so prioritize models designed to handle grease, moisture, and high airflow demands.
CFM and Duct Compatibility
As calculated earlier, match the fan’s CFM to your kitchen’s size. Also confirm the fan’s outlet diameter matches your duct size—mismatched diameters reduce airflow by up to 30% and increase noise. For kitchens over 200 CFM, opt for a model with variable speed control to adjust ventilation based on cooking intensity (low speed for simmering, high speed for searing or frying).
Noise and Energy Efficiency
Look for fans rated under 2 sones for quiet operation during casual cooking and conversation. ENERGY STAR-certified models use 20% less energy than standard models, which adds up to significant utility savings over the fan’s 10-15 year lifespan. For open-concept kitchens, choose a model with a built-in duct silencer to avoid disturbing adjacent living spaces.
Design and Durability
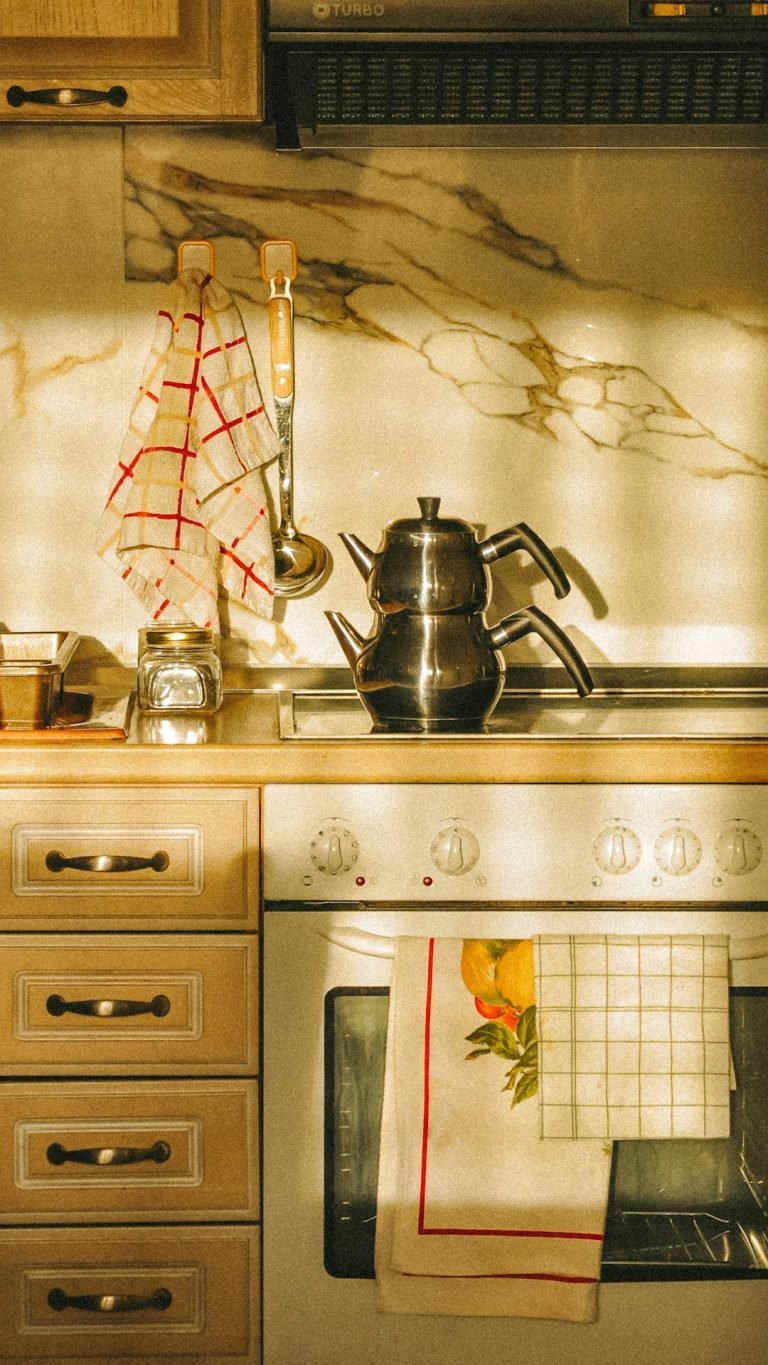
Wall-mounted exhaust fans come in recessed, surface-mount, and decorative range hood styles to match any kitchen aesthetic. Recessed models sit flush with the wall for a minimalist look, while surface-mount models are easier to install on uneven walls. If you have green kitchen cabinets, pairing your fan with a complementary wall shade will keep the space cohesive. For kitchens with warm brown cabinetry, a coordinated wall color will make a stainless steel fan feel like an intentional design feature rather than an afterthought. Prioritize fans with grease-resistant coatings and removable, dishwasher-safe filters to simplify maintenance. Stainless steel housings resist corrosion from cooking moisture and grease far better than plastic models, extending the fan’s lifespan by 5-10 years in most cases.
 Custom vent hoods can be paired with wall-mounted exhaust fans for high-ceiling kitchens.
Credit: www.create-enjoy.com
Custom vent hoods can be paired with wall-mounted exhaust fans for high-ceiling kitchens.
Credit: www.create-enjoy.com
Step-by-Step Installation Guide
Follow these steps in order for a safe, code-compliant installation that performs reliably for years.
Step 1: Select and Mark the Installation Location
The ideal location is 18-24 inches above the cooking surface, centered over the stovetop or cooktop for maximum fume capture. Use a stud finder to mark the location of any wall studs, plumbing, or electrical boxes in the area—you want to avoid cutting through these. Mark the outline of the fan’s mounting frame on the wall with a pencil, double-checking that it’s level and aligned with your venting path to the exterior. If a wall-mounted faucet sits in your planned cutout area, you’ll need to remove it first to avoid damaging it during the cut.
Step 2: Cut the Wall Opening
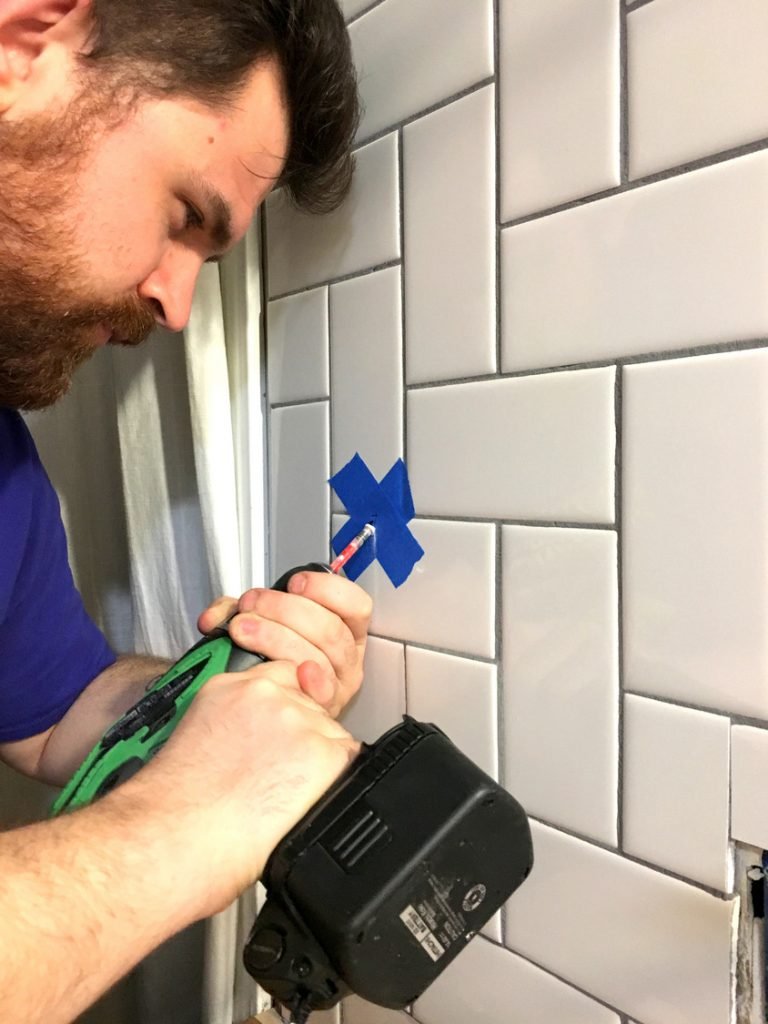
Lay down drop cloths to protect your floors and countertops from dust and debris. Put on your safety goggles and dust mask. Start by drilling a small pilot hole inside one corner of your marked outline, then insert your jigsaw or hole saw blade to cut along the marked lines. Go slowly to keep edges straight and avoid splintering the wall material. Once the cutout is free, sand the edges smooth to avoid sharp corners that could damage the fan’s mounting frame. Remove all loose debris from the wall cavity before proceeding.
Step 3: Run the Vent Duct to the Exterior
This is the most critical step for long-term performance, and one many incomplete DIY guides skip. First, drill a hole through the exterior wall directly in line with your interior cutout, at a slight downward angle (1-2 degrees) to prevent water from pooling in the duct. Insert the rigid aluminum duct through the hole, securing it to the fan’s outlet with HVAC foil tape and metal clamps. Avoid kinks or sharp bends in the duct—each 90-degree bend reduces airflow by 10-15%, so keep the path as straight as possible. If you need to run the duct through wall cavities, support it every 4 feet with metal duct straps to prevent sagging. Seal all duct joints with foil tape (never use standard duct tape, which degrades over time due to heat and grease exposure) to prevent air leaks. Attach the exterior wall vent cap to the end of the duct, securing it with corrosion-resistant screws and sealing the gap around the cap with silicone caulk to prevent water and pest entry. The cap must have a built-in damper to stop backdrafts when the fan is off.
Step 4: Wire the Exhaust Fan
Double-check that power is still off at the circuit breaker with your voltage tester. Remove the fan’s wiring cover to access the connection points. Match the fan’s wires to your wall’s wires: black (hot) to black, white (neutral) to white, and green or bare copper (ground) to the ground wire in your wall. Twist the matching wires together with wire nuts, then wrap each connection with electrical tape for extra security. If your fan has a plug rather than hardwiring, you can plug it into a nearby GFCI outlet, but hardwiring to a dedicated 15-amp circuit is recommended for continuous use. Tuck all wires neatly into the fan’s housing to avoid pinching them when you mount the fan. If you are unsure about any part of the wiring process, consult a licensed electrician—improper wiring is a leading cause of kitchen electrical fires.
Step 5: Mount the Exhaust Fan
Hold the fan up to the wall cutout, making sure the duct is connected securely to the fan’s outlet. Use a level to confirm the fan is perfectly straight, then mark the mounting screw holes on the wall. Drill pilot holes for the screws, insert wall anchors if you’re mounting into drywall or masonry, then secure the fan to the wall with the included mounting screws. Tighten screws evenly to avoid warping the fan frame. Once mounted, apply a thin bead of silicone caulk around the edge of the fan’s mounting frame to seal any gaps between the fan and the wall. This prevents air leaks that reduce efficiency and let cooking smells escape back into your kitchen.
Step 6: Test and Troubleshoot
Turn the power back on at the circuit breaker, then flip the fan’s switch to test operation. Check for the following common issues:
- No power? Double-check wire connections and confirm the breaker didn’t trip during installation.
- Weak airflow? Inspect the duct for kinks, blockages, or loose connections. Make sure the exterior vent cap’s damper is opening fully.
- Excessive noise? Tighten any loose mounting screws, and check that the fan blades are not bent or clogged with debris. If the noise persists, the fan motor may be defective.
- Air leaking back into the kitchen? Re-seal the gaps around the fan frame and check that the exterior damper is closing properly when the fan is off.
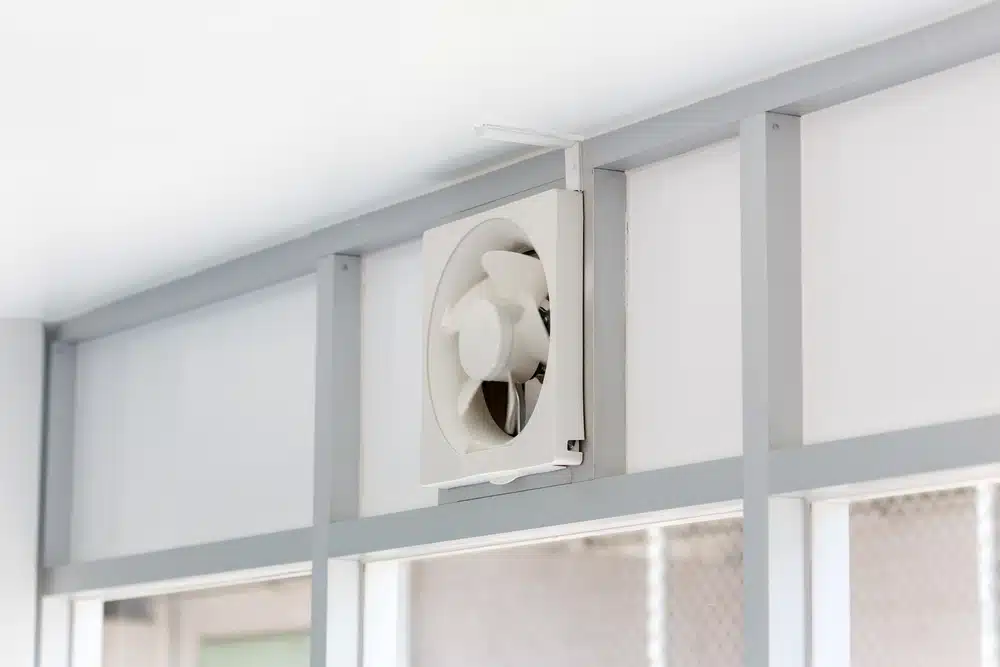 The exterior vent cap should have a damper to prevent backdrafts and pest entry.
Credit: www.i-sells.co.uk
The exterior vent cap should have a damper to prevent backdrafts and pest entry.
Credit: www.i-sells.co.uk
Common Installation Mistakes to Avoid
Even experienced DIYers run into these avoidable errors:
- Venting into interior spaces: Never vent your exhaust fan into an attic, crawl space, or ceiling cavity. Grease and moisture trapped in these areas cause mold growth, wood rot, and pest infestations that are far more expensive to fix than proper exterior venting.
- Skipping the damper: A missing or faulty exterior damper lets outside air, rain, and pests enter your home, and reduces the fan’s efficiency by up to 20%.
- Using the wrong CFM fan: An undersized fan won’t remove cooking fumes, while an oversized fan creates excessive noise and can backdraft combustion gases from gas appliances into your home if not installed correctly.
- Using duct tape on vent ducts: Standard duct tape degrades within 1-2 years due to heat and grease exposure, leading to air leaks. Use only HVAC-rated foil tape for all duct joints.
- Skipping local code checks: Failing to pull a required permit or comply with venting rules can lead to fines or issues when selling your home later.
Post-Installation Maintenance Tips
Regular maintenance keeps your fan running efficiently and extends its lifespan by 5-10 years:
- Clean the fan blades and grille monthly if you cook daily, or every 2-3 months for occasional cooking. Use warm, soapy water and a soft cloth to remove grease buildup—avoid abrasive cleaners that scratch stainless steel finishes.
- Replace or clean the filter every 1-3 months, depending on usage. Metal filters can be washed in the dishwasher, while charcoal filters need to be replaced when they no longer absorb odors. Always use filters compatible with your fan model to maintain proper airflow.
- Inspect the ductwork annually for blockages like bird nests, debris, or thick grease buildup. Use a flashlight to look through the exterior vent cap to confirm the duct is clear.
- Test the fan’s damper annually to make sure it opens and closes fully. A stuck damper reduces efficiency and lets pests enter your home.
- Listen for unusual noises during operation—grinding or rattling sounds often indicate loose parts or a failing motor that needs to be replaced before it causes a fire hazard. EPA indoor air quality guidelines recommend inspecting kitchen ventilation systems annually to ensure they are functioning properly.
When to Call a Professional
While installing a wall exhaust fan is a manageable DIY project for many homeowners, there are cases where professional help is the safest, most cost-effective choice:
- Your wall is made of brick, stone, or stucco, which requires specialized masonry tools and skills to cut cleanly without damaging the surrounding material.
- You need to reroute electrical wiring or plumbing to accommodate the fan, which requires a licensed professional to comply with building and electrical codes.
- You don’t have a clear, straight venting path to the exterior, and need to run ducting through multiple wall cavities or the attic.
- You are not comfortable working with household electrical wiring, or are unsure about local code requirements. Licensed contractors typically charge between $200 and $800 for full exhaust fan installation, depending on your region, wall type, and project complexity. This cost is often worth the peace of mind that the job is done safely and to code.
Frequently Asked Questions
Do I need a permit to install a kitchen exhaust fan?
Many local jurisdictions require a permit for new exhaust fan installations, especially if you are modifying electrical wiring or running new ductwork. Check with your local building department before starting your project to avoid fines or issues with future home sales.
Can I vent my kitchen exhaust fan into the attic?
No. Venting into the attic traps hot, moist air and grease in the attic space, leading to mold growth, wood rot, and increased cooling costs in the summer. All kitchen exhaust fans must vent directly to the exterior of the home.
How high should a kitchen exhaust fan be mounted above the stove?
The ideal height is 18-24 inches above the cooking surface for optimal fume capture. If you have a particularly high ceiling or a professional-style range, you may need a larger hood or a duct extension to maintain performance.
Can I install an exhaust fan if my kitchen has no existing venting?
Yes, but you will need to drill a new hole through the exterior wall to create a venting path. If your kitchen is on an interior wall with no access to the exterior, you may need to install an inline fan and run ducting through the ceiling to the roof, which is a more complex project best left to professionals.
How often should I clean my kitchen exhaust fan?
Clean the fan grille and blades monthly if you cook daily, or every 2-3 months for occasional cooking. Replace disposable filters every 1-3 months, and clean reusable metal filters every 1-2 months to maintain optimal airflow.
Conclusion
Installing a wall-mounted exhaust fan in your kitchen is a high-impact DIY project that improves indoor air quality, protects your walls and cabinets from grease and moisture damage, and makes cooking more comfortable. By following this step-by-step guide, planning carefully, and prioritizing safety, you can complete the installation in a single weekend for a fraction of the cost of hiring a professional. Once your fan is up and running, pair it with a fresh wall color that complements your kitchen’s existing decor for a complete, functional refresh. If you have green or brown cabinetry, check out our guides to wall colors for green kitchen cabinets and wall colors for brown kitchen cabinets to find the perfect shade for your space.