How to Decorate Kitchen Walls Pictures: Stunning Ideas to Transform Your Space
As the most frequently used room in the average home, kitchens are almost always styled for function first: durable countertops, easy-clean backsplashes, and accessible storage take priority over decorative touches. But blank wall space above counters, sinks, or empty corners is a missed opportunity. The right kitchen wall pictures don’t just fill empty space — they reflect your personality, make the room feel larger, and even turn cooking from a daily chore into a more enjoyable experience. Whether you’re renting and can’t paint cabinets, or you’re doing a full renovation, wall art is a low-commitment, high-impact way to transform your space. In this guide, we’ll walk through every step: from prepping your walls and choosing the right art for your kitchen’s layout, to arranging gallery walls, adding functional decor, and protecting your pieces from kitchen-specific wear and tear.
Prep Your Kitchen Walls First
Before you hang any art, prep your walls to ensure your pieces stay put and look their best for years to come. Start by cleaning the entire area where you’ll hang art: kitchen walls accumulate grease, food splatters, and dust, which can prevent adhesive strips or nails from sticking properly, and can transfer to the back of your art over time. Use a degreasing cleaner (a mix of warm water and a few drops of dish soap works perfectly) to wipe down the surface, then let it dry completely. Next, patch any holes or cracks from old nails, hooks, or removed fixtures. If you’re taking down an outdated wall-mounted faucet as part of a kitchen update, you can reference our guide to removing old wall fixtures for step-by-step guidance on patching left-behind holes without damaging your backsplash. For renters, skip patching and use command strips or adhesive hooks that won’t damage paint or drywall. Finally, if your kitchen has high humidity (common near sinks or dishwashers), apply a thin coat of moisture-resistant primer to the hanging area to prevent water damage to the back of your art. A common mistake homeowners make is skipping the cleaning step, which causes adhesive strips to fall off after a few weeks and leaves grease stains on the back of art that are nearly impossible to remove.
Choosing the Right Wall Art for Your Kitchen
The right wall art ties your kitchen’s aesthetic together while adding personality, but with so many options available, it can be hard to know where to start. Below, we break down the most popular art types, color rules, and placement best practices to help you choose pieces that fit your space and style.
Types of Kitchen Wall Art
From functional pieces to purely decorative prints, there’s an option for every kitchen style and budget. Use the table below to compare the most common types and find the best fit for your space:
| Art Type | Pros | Cons | Best For |
|---|---|---|---|
| Framed food photography | Classic, fits all styles, widely available | Glass can break if knocked; prone to glare in direct sun | All kitchen styles, especially traditional and modern |
| Metal wall art | Heat-resistant, easy to wipe clean, adds texture | Can feel cold if overused; may clash with rustic decor | Industrial, modern, and farmhouse kitchens |
| Canvas prints | No breakable glass, lightweight, rent-friendly | Less resistant to splashes and humidity | Renters, kitchens away from the stove/sink |
| Chalkboard/whiteboard art | Functional, easily updated | Can look messy if not maintained | Family kitchens, busy cooking spaces |
| For a curated look, stick to a unifying element across all your art: consistent frame finishes, a shared color palette, or a cohesive theme (like food, travel, or herbs) keep displays from feeling cluttered. |
Color Coordination With Your Existing Palette
Your wall art should complement your kitchen’s existing finishes, not compete with them. If you have bold green cabinets, opt for art in warm neutral tones like cream, terracotta, or soft yellow to balance the saturation without clashing — you can find more tailored guidance in our guide to complementing green cabinets. For brown cabinetry, cool tones like sage green, dusty blue, or soft white help cut through the warmth and make the space feel brighter; our tips for matching art to brown cabinetry break down exact color pairings for every brown tone from light oak to dark espresso. If your kitchen is neutral (white cabinets, gray backsplash), you can go bolder with accent art: deep reds stimulate appetite, a well-documented principle of color psychology in interior design, bright yellows add energy, or moody blacks and charcoals create a sleek, modern focal point. As a general rule, follow the 60-30-10 design rule: 60% of your space is your dominant tone (cabinets, walls), 30% is secondary (backsplash, countertops), and 10% is accent (wall art). This ensures your art feels intentional, not out of place. Kitchen walls are exposed to consistent humidity, airborne cooking grease, and occasional splashes, all of which can damage unframed art or cause colors to fade over time. To minimize damage from kitchen humidity and airborne cooking grease, the U.S. Environmental Protection Agency recommends running your range hood for 15 minutes after cooking and wiping walls regularly EPA kitchen air quality guidance.
Sizing and Placement Best Practices
Size and placement make or break a kitchen wall display, no matter how beautiful the art itself is. For a single large statement piece, it should take up 2/3 to 3/4 of the available wall space: for example, if your blank wall is 48 inches wide, your art should be 32-36 inches wide. For gallery walls, the entire arrangement should fill 2/3 of the wall width, with 2-4 inches of spacing between each frame for a clean, uncluttered look. Hanging height follows the standard museum guideline: the center of the art (or the center of the entire gallery wall arrangement) should be 57-60 inches from the floor to the center of the piece. This aligns with average eye level for most adults, so you don’t have to crane your neck to appreciate the art. Always leave at least 8 inches of clearance between the bottom of the art and the top of countertops, cabinets, or backsplashes to avoid a crowded look. A common mistake homeowners make is hanging art too high to avoid blocking backsplashes, but this creates a top-heavy, unbalanced feel that throws off the entire room’s proportions.
Best Wall Art for Small Kitchens
Small galley kitchens, studio apartment kitchens, or spaces with limited blank wall space require a more intentional approach to art to avoid a cramped, cluttered feel. Start by skipping large gallery walls: instead, opt for a single medium-sized statement piece (24×36 inches) above your sink, stove, or kitchen island to add personality without overwhelming the space. If you prefer a multi-piece display, stick to 3-4 small frames (8×10 or 11×14) arranged in a tight vertical or horizontal grid, with 1-2 inches of spacing between frames to keep the look clean. Choose art with light backgrounds and open negative space, which makes the wall feel larger instead of heavier. Avoid large, dark, or overly busy prints, which can make a small kitchen feel even smaller. For an extra space-saving hack, use slim floating shelves to display small art and kitchen collectibles, adding vertical interest without taking up wall space for hanging.
Creative Photo Display Ideas
Personal photos turn a generic kitchen into a space that feels uniquely yours, and there are countless ways to display them without creating a cluttered, messy look. Below are our favorite ideas for every kitchen style.
Gallery Wall Layouts for Every Kitchen Shape
Gallery walls work for every kitchen layout, as long as you tailor the arrangement to your space. For galley kitchens with narrow, long walls, a horizontal grid of 4-6 equal-sized frames aligned with the length of your countertops creates a clean, streamlined look. For large blank walls above a kitchen island, a salon-style cluster with mixed frame sizes (12×16, 8×10, 16×20) and varying finishes (natural wood, black, gold) adds cozy, curated charm. Pro tip: lay out your frames on the floor first to test the arrangement before putting any nails in the wall, and use painter’s tape to mark the edges of the entire display so you don’t end up with a lopsided layout. For renters, use command strips instead of nails to avoid damaging walls.
Styling Frames and Mats for a Cohesive Look
Frames protect your photos and add style to your display, while mats create a 1-2 inch border around images that makes smaller prints feel more intentional and prevents them from getting lost on a large wall. For kitchens with lots of texture (subway tile backsplashes, wood cabinets), use simple white or off-white mats to create contrast. For modern kitchens with sleek finishes, black mats add a dramatic, cohesive touch. If you’re mixing frame styles, stick to a consistent finish (all wood, all black, all gold) to keep the display looking curated instead of cluttered. A common mistake is using completely mismatched frames with no unifying element, which makes the wall look messy and unplanned.
Showcasing Personal Photos Without Clutter
Print personal photos on archival-quality paper to prevent fading from kitchen sunlight and humidity. Mix candid shots (family baking days, holiday dinners) with travel photos from memorable food-focused trips and small, whimsical shots (your pet stealing a snack off the counter) for a personal, heartfelt display. To keep the look fresh, rotate photos every 3-6 months, especially for seasonal shots (summer cookouts, holiday baking days). Avoid placing glossy photos directly in direct sunlight, as they create glare that makes the image hard to see from certain angles. Opt for matte finishes for photos in sunlit kitchens for the best visibility.
Budget-Friendly DIY Kitchen Wall Decor
DIY wall art adds a personal touch that store-bought pieces can’t match, and most projects cost less than $20 in supplies. Below are our favorite beginner-friendly ideas for every skill level.
Hand-Painted Accent Murals
A hand-painted mural gives you full control over your kitchen’s theme and color palette, no professional skills required. For beginners, start small: paint a simple herb garden along the bottom of a wall just above wainscoting, or create a small accent wall behind open shelves with a geometric pattern or food-themed illustration (think fresh fruit, coffee cups, or bread loaves). Use paint specifically formulated for kitchen walls, which is moisture-resistant and easy to wipe clean. A common mistake is using regular craft paint, which will peel and fade quickly from kitchen humidity and regular cleaning. If you’re renting, opt for peel-and-stick wall decals instead of permanent paint for a removable, damage-free mural.
Functional Chalkboard and Message Boards
A chalkboard or message board adds both style and utility to your kitchen walls, giving you a space to jot down grocery lists, recipes, or daily reminders. Choose a spot near your cooking area for easy access, and opt for chalkboard paint formulated for high-moisture areas if you’re installing it near the sink or stove to prevent peeling. For a more polished look, use a framed magnetic chalkboard, which lets you hang notes, recipes, or even small photos with magnets. Pro tip: use liquid chalk markers instead of traditional chalk, which doesn’t produce dust that can settle on food or countertops.
Upcycled Kitchen Art Projects
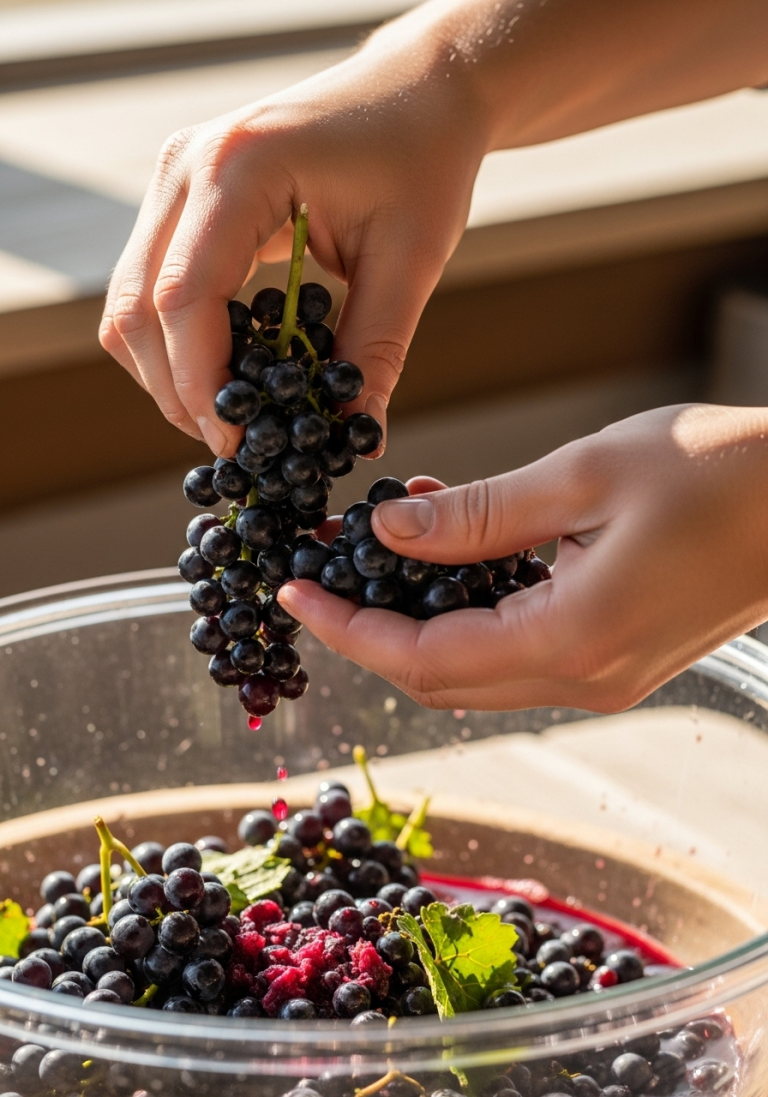
Repurposing old kitchen items or hobby supplies turns trash into one-of-a-kind wall art that tells a story. Frame vintage rolling pins, cookie cutters, or antique kitchen scales for a rustic, nostalgic display. Create a mosaic from broken ceramic plates or vintage tiles for a unique backsplash accent that doubles as art. If you’re a home winemaker, frame vintage wine labels, corks, or custom labels from your own batches for a personalized, hobby-themed display — our guide to at-home winemaking setups has everything you need to start creating your own custom labels for art projects. Seal all upcycled art with a clear, food-safe sealer if it’s placed near food prep areas to prevent grease and bacteria from building up on porous surfaces.
Functional Wall Decor That Serves a Purpose
If you want to avoid adding purely decorative pieces that collect dust, opt for functional wall decor that makes your kitchen easier to use while still looking great.
Decorative Shelving for Art and Collectibles
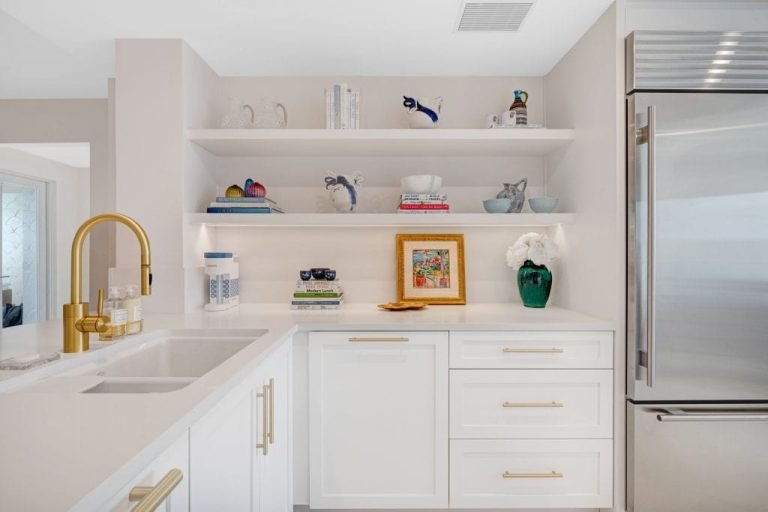
Open floating shelves act as a mini gallery for your favorite small art, vintage ceramics, cookbooks, and kitchen collectibles. Use staggered shelves of varying lengths (12, 18, and 24 inches) to create visual interest, and group items in odd numbers (3, 5, 7) for a balanced, curated look. Mix textures and heights: pair a small framed print with a potted herb, a vintage ceramic jar with a stack of your favorite cookbooks. Pro tip: use adhesive putty to secure lightweight items on shelves to prevent them from falling when you’re reaching for ingredients mid-meal prep. A common mistake is overcrowding shelves, which makes the display look cluttered and makes it hard to grab items you need quickly.
Wall-Mounted Herb Gardens
Fresh herbs on your walls bring life, fragrance, and utility to your kitchen, putting your favorite cooking ingredients within arm’s reach. Hang small lightweight pots with drainage trays on wall hooks, or opt for a felt pocket herb garden that attaches directly to the wall with no hardware required. Herbs like basil, mint, rosemary, and thyme thrive in kitchen windows with indirect sunlight, and having them on hand makes it easy to add fresh flavor to meals without a last-minute grocery run. A common mistake is overwatering herbs, which can cause water to seep into walls and lead to mold growth. Stick to watering 1-2 times a week, and place a tray under pots to catch excess water.
Magnetic and Pegboard Storage Displays
Magnetic strips and pegboards combine storage and decor to keep your kitchen counters clear while adding a stylish, organized look. Install a stainless steel magnetic strip to hang knives, metal spice tins, and even small framed photos with magnetic backing for quick access while cooking. For a more customizable option, mount a wooden pegboard with hooks, small shelves, and magnetic strips to store everything from measuring cups to pot holders to small potted succulents. Pro tip: paint the pegboard a color that matches your kitchen’s accent wall to make it blend in seamlessly, instead of standing out as a purely utilitarian piece. A common mistake is overloading the pegboard with too many items, which makes it look messy and defeats the purpose of keeping counters clear.
Seasonal and Themed Wall Art Ideas
Swapping out wall art with the seasons or your current interests keeps your kitchen feeling fresh and inviting year-round, without requiring a full redesign.
Holiday and Seasonal Swaps
Seasonal art is an easy, low-commitment way to update your kitchen’s vibe for holidays and changing weather. For fall, swap in prints of autumn produce (apples, pumpkins, wheat) or vintage Halloween kitchen signs. For winter, use minimalist snowflake prints, holiday cookie illustrations, or framed photos of your family’s holiday baking days. For spring, opt for prints of fresh herbs, strawberries, or subtle Easter egg patterns. Pro tip: use adhesive command strips to hang seasonal art, so you can swap pieces out in 5 minutes or less without damaging your walls. A common mistake is leaving seasonal art up year-round, which makes it feel dated and less special over time.
Food, Drink, and Hobby-Themed Art
Theme your wall art around your favorite cooking or drinking habits for a space that feels truly personal. If you’re a home baker, hang vintage baking prints, illustrations of sourdough bread, or custom prints of your favorite cookie recipes. Coffee lovers can opt for minimalist coffee cup illustrations or vintage cafe posters. For wine enthusiasts, hang vintage wine label prints, illustrations of grapevines, or custom maps of your favorite wine regions — our guide to winemaking hobby accents features unique, kitchen-safe decor options that pair perfectly with wine-themed prints. Avoid overly kitschy or cartoonish prints, which can make the space feel childish instead of stylish: opt for subtle, stylized illustrations for a more mature, cohesive look.
Blending Rustic and Modern Styles
Your wall art should match your kitchen’s overall design style, but you don’t have to stick to just one aesthetic. For rustic kitchens with farmhouse sinks and wood cabinets, use natural wood frames, burlap prints, and vintage enamel signs for a cozy, lived-in feel. For modern kitchens with quartz countertops and sleek cabinets, opt for black metal frames, abstract black and white prints, or minimalist line art of kitchen tools. For transitional kitchens that blend rustic and modern elements, mix the two styles subtly: pair natural wood frames with abstract prints, or metal frames with vintage food posters. A common mistake is mixing too many conflicting styles in equal measure, which makes the space feel disjointed. Pick one dominant style (rustic or modern) and add 1-2 small pieces of the opposite style for contrast, instead of splitting the difference 50/50.
Lighting to Make Your Wall Art Shine
Even the most beautiful wall art will look dull and unnoticeable without proper lighting. The right lighting makes colors pop, highlights texture, and turns your kitchen walls into an intentional design feature instead of an afterthought.
Accent Lighting for Statement Pieces
Accent lighting is designed to highlight specific pieces of art, drawing the eye and making colors look true to life. For a gallery wall, use a 3-head adjustable track light mounted 12-18 inches from the wall, so you can aim each light at a different piece of art. For a single large piece above the sink or stove, use a slim LED picture light mounted 4-6 inches above the top of the frame, which casts a soft, even glow without creating glare. For optimal results, choose lights with a high CRI (Color Rendering Index) of 90+, which makes colors in your art look vibrant and true to life, instead of washed out or distorted. For optimal art illumination without glare or heat damage, the Illuminating Engineering Society suggests using LED picture lights with a color temperature of 3000K-4000K to complement your kitchen’s existing lighting IES residential lighting standards.
Protecting Art From Natural Light Damage
Natural light can make your wall art look beautiful, but harsh direct sunlight can cause fading and glare over time. North-facing kitchens get soft, indirect sunlight all day, which is ideal for art, as it won’t cause fading. South and west-facing kitchens get harsh direct sunlight, which can fade prints and create glare: if you can’t avoid hanging art in these areas, use UV-protective glass or acrylic for framed pieces, which blocks 99% of harmful UV rays. East-facing kitchens get bright morning sunlight, which is great for art, but can cause glare early in the day — use sheer curtains to soften the light without blocking it entirely. A common mistake is hanging glossy art directly in direct sunlight, which creates glare that makes the art impossible to see from certain angles. Opt for matte finishes for art in sunlit kitchens for the best visibility.
Layering Light for Depth and Ambiance
Relying only on overhead kitchen lighting will cast shadows on your wall art and make it look dull. Instead, layer ambient (overhead) light with accent (art-specific) light to create depth and make your pieces stand out. If you have a statement piece (like a large custom painting or a vintage metal sign), install a dedicated dimmer switch for the accent lights above it, so you can adjust the brightness for different times of day: brighter for meal prep, dimmer for dinner parties. For a cozy, inviting feel, add small LED strip lights under floating shelves that hold art, which casts a soft glow on the pieces below. This layered approach makes your kitchen feel warm and intentional, no matter the time of day.
Frequently Asked Questions
What types of pictures suit kitchen wall decor?
The most durable and stylish options for kitchens include framed food photography, metal wall art, canvas prints, and custom recipe prints. Avoid unframed paper prints in high-moisture areas near the sink or stove, as they can warp or fade quickly. For renters, canvas prints or adhesive-backed wall decals are great low-commitment options that won’t damage walls.
How do I arrange kitchen wall pictures effectively?
For a single statement piece, center it on the main blank wall above your sink, stove, or kitchen island, leaving 8 inches of clearance between the bottom of the art and the top of your countertops or backsplash. For gallery walls, use a consistent spacing of 2-4 inches between frames, and lay out the arrangement on the floor first to test the layout before hanging. Stick to a unifying element (like matching frame finishes or a consistent color palette) to keep the display looking curated instead of cluttered.
Can kitchen wall pictures resist moisture and heat?
Yes, if you choose the right materials: opt for framed prints with UV-protective glass or acrylic, metal wall art, or canvas prints for areas near the stove or sink. Avoid placing unframed paper art or delicate watercolors in high-heat or high-moisture areas, as they will fade or warp quickly. For extra protection, use a clear, food-safe sealer on DIY art or upcycled pieces placed near food prep areas.
What size pictures work best for kitchen walls?
For large blank walls (wider than 48 inches), a single 36×48 inch statement piece or a gallery wall with 4-6 frames works well. For small walls or galley kitchens, stick to 1-3 small frames (8×10 or 11×14) or a single medium-sized piece (24×36 inches) to avoid overwhelming the space. Always measure your wall space before buying art, and leave at least 8 inches of clearance between the bottom of the art and any countertops or cabinets.
Final Tips for a Stunning Kitchen Wall Display
Transforming your kitchen walls with pictures doesn’t require a big budget or professional design skills — it just requires a little planning and creativity. Whether you opt for a single statement piece, a curated gallery wall of family photos, or a functional herb garden that doubles as decor, the right wall art will make your kitchen feel more like the heart of your home. If you’re a home winemaker looking for unique, hobby-themed decor for your space, our guide to at-home winemaking setups has everything you need to get started, plus ideas for custom art using your own homemade wine labels. Ready to start? Pick one small wall this weekend, prep it, and hang a piece that makes you smile every time you walk into the room.
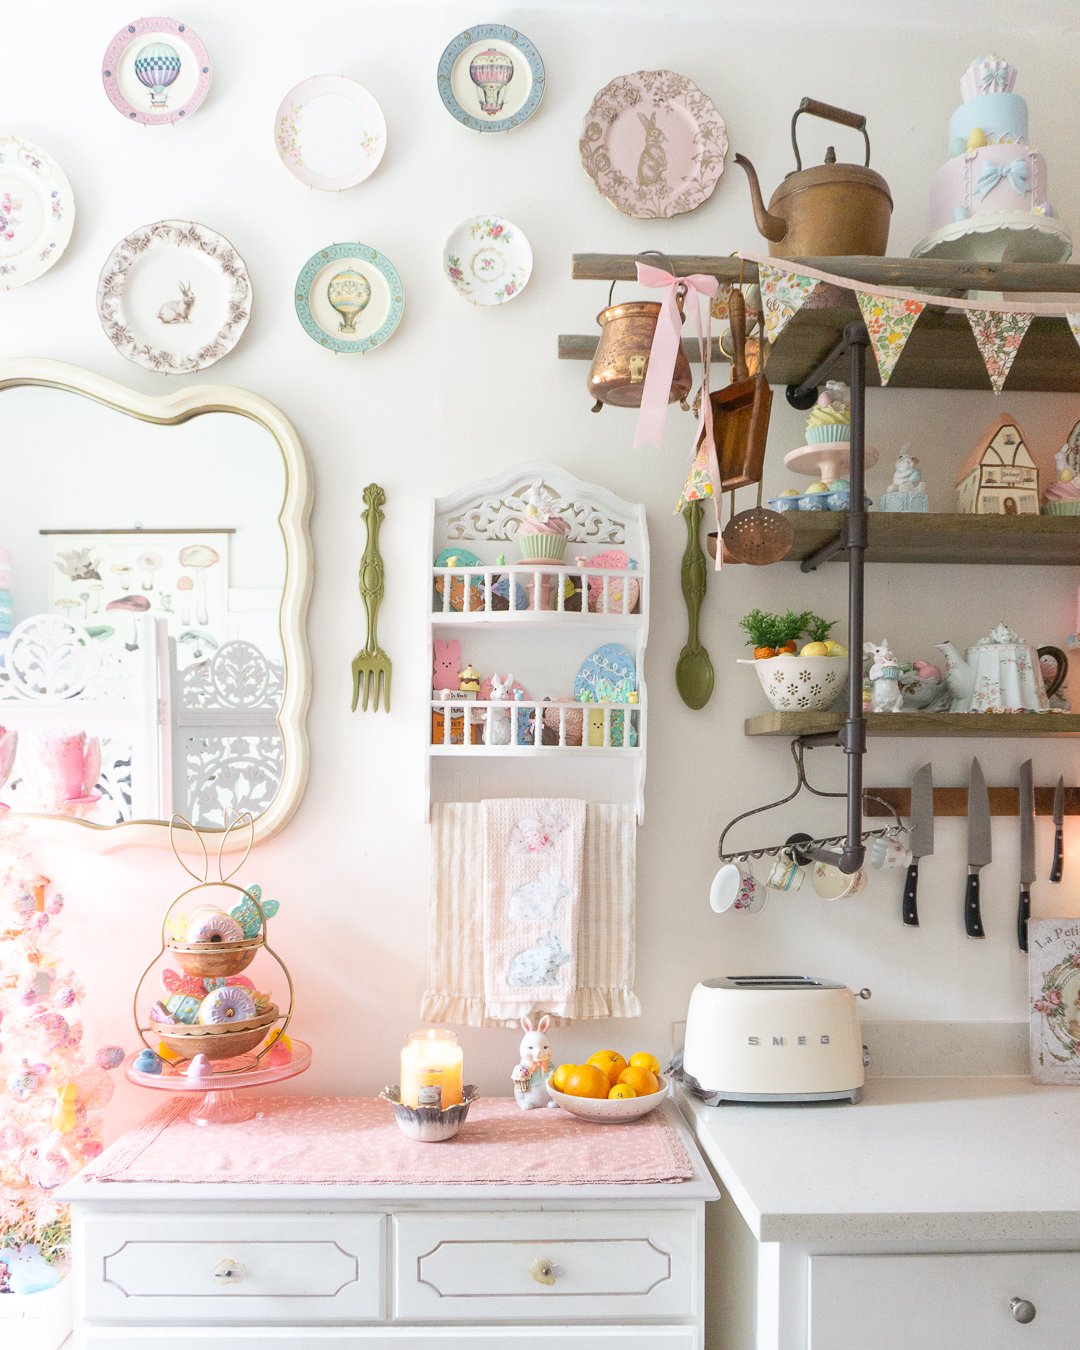
 A mix of framed prints, metal art, and gallery walls shows how versatile kitchen wall decor can be for any style.
Credit: www.thecoolist.com
A mix of framed prints, metal art, and gallery walls shows how versatile kitchen wall decor can be for any style.
Credit: www.thecoolist.com
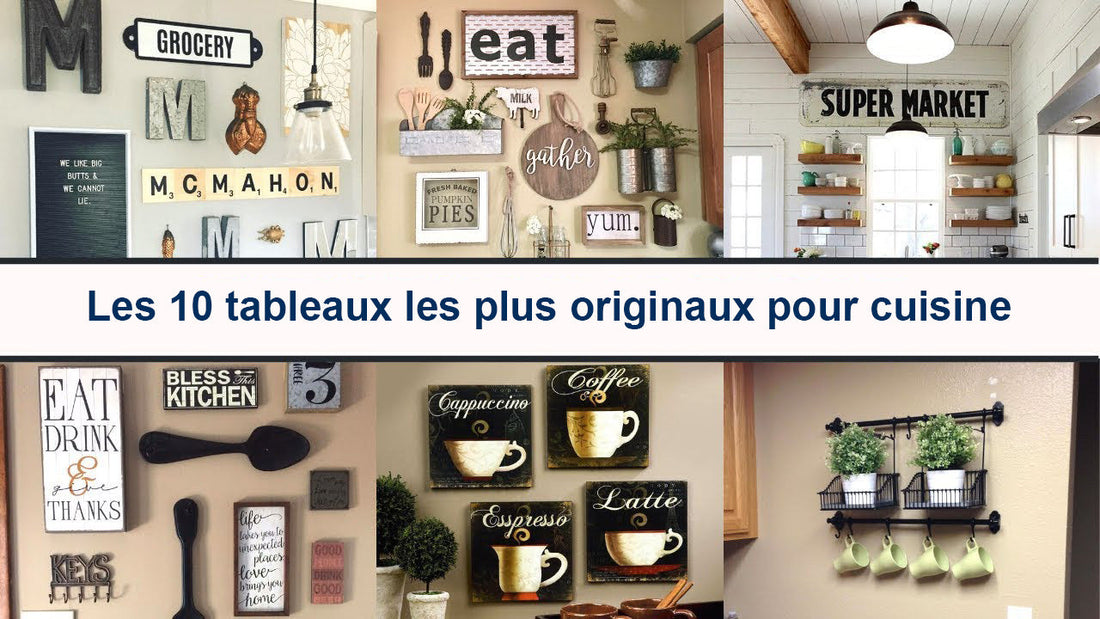 A casual salon-style gallery wall of family photos adds warmth and personality to a neutral kitchen.
Credit: www.myselfmonart.com
A casual salon-style gallery wall of family photos adds warmth and personality to a neutral kitchen.
Credit: www.myselfmonart.com
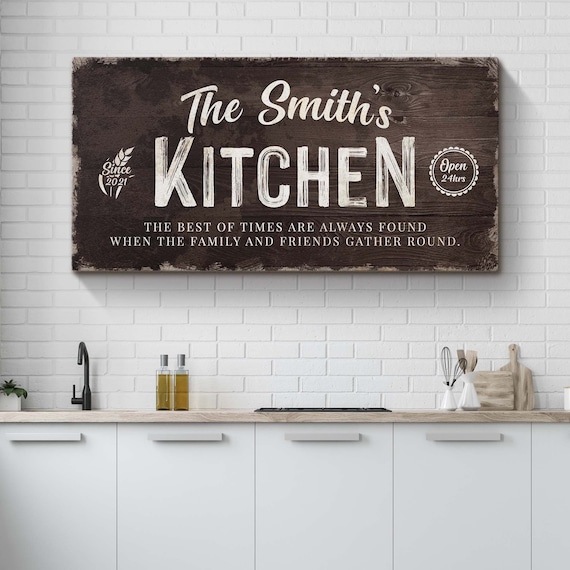 Rustic food-themed art complements a farmhouse-style kitchen island and open shelving.
Credit: www.etsy.com
Rustic food-themed art complements a farmhouse-style kitchen island and open shelving.
Credit: www.etsy.com
Frequently Asked Questions
What types of pictures are best for kitchen walls?
Prioritize durable, low-maintenance options that can withstand the unique conditions of a kitchen: consistent humidity from cooking, airborne grease, and occasional splashes near the sink or stove. Framed prints with UV-protective glass or acrylic, metal wall art, and canvas prints are all excellent choices, as they resist warping, fading, and damage far better than unframed paper art. For renters who can’t put holes in walls, canvas prints or adhesive-backed wall decals add personality without damaging paint or drywall. Avoid delicate watercolors, unframed photographs, or paper prints in high-moisture areas, as they will warp or stain within a few months of regular kitchen use.
How do I arrange multiple kitchen wall pictures without making the space look cluttered?
Start with a single unifying element to tie your display together: consistent frame finishes, a shared color palette, or a cohesive theme (like food, travel, or family memories) prevent a scattered, messy look. For gallery walls, stick to 2-4 inches of spacing between frames, and lay out your entire arrangement on the floor first to test the layout before putting any nails in the wall — this eliminates the risk of a lopsided display that’s hard to fix later. For small galley kitchens or spaces with limited wall space, skip large gallery walls entirely and stick to 3-4 small frames (8×10 or 11×14) arranged in a tight vertical or horizontal grid, or a single medium-sized statement piece (24×36 inches) to avoid overwhelming the room.
Can kitchen wall art resist moisture and heat damage?
Yes, if you select the right materials for your kitchen’s layout. Metal wall art is completely heat-resistant and easy to wipe clean with a damp cloth, making it ideal for walls directly adjacent to the stove or cooktop. Framed prints with acrylic instead of glass are shatter-resistant and often include built-in UV protection to block fading from direct sunlight. For DIY or upcycled art placed near food prep areas, seal the entire piece with a clear, food-safe sealer to prevent grease and bacteria from building up on porous surfaces like raw wood or ceramic. A common mistake homeowners make is hanging unframed paper art above the sink, which will warp and stain from steam and splashes within a few weeks.
What size wall art works best for small kitchens?
For galley kitchens, studio apartment kitchens, or spaces with limited blank wall space, avoid large gallery walls or oversized statement pieces that can make the room feel cramped and cluttered. Instead, opt for a single 24×36 inch framed print above your sink, stove, or kitchen island to add personality without overwhelming the space. If you prefer a multi-piece display, stick to 3-4 small frames (8×10 or 11×14) arranged in a tight grid with 1-2 inches of spacing between frames. Choose art with light backgrounds and open negative space to make the wall feel larger, and avoid dark, busy prints that can weigh down the space.
Final Tips for a Stunning Kitchen Wall Display
Decorating your kitchen walls with pictures doesn’t require a big budget, professional design experience, or permanent renovations — it just requires a little planning and creativity. Whether you opt for a single statement piece of food-themed art above your island, a curated gallery wall of family baking photos, or a functional wall-mounted herb garden that doubles as decor, the right wall art will make your kitchen feel more like the warm, welcoming heart of your home. If you’re still unsure where to start, pick one small blank wall this weekend: prep it properly, measure your space, and hang a single piece that makes you smile every time you reach for a coffee mug or chop vegetables. Over time, you can expand your display, swap in seasonal art for holidays and changing weather, or add functional pieces like open floating shelves to keep the space feeling fresh and intentional. Your kitchen should be a space that brings you joy, not just a place to cook — and the right wall pictures are the easiest way to make that happen. For more fun, functional kitchen decor ideas that match your hobbies, check out our guide to setting up a home winemaking station for custom art inspiration.