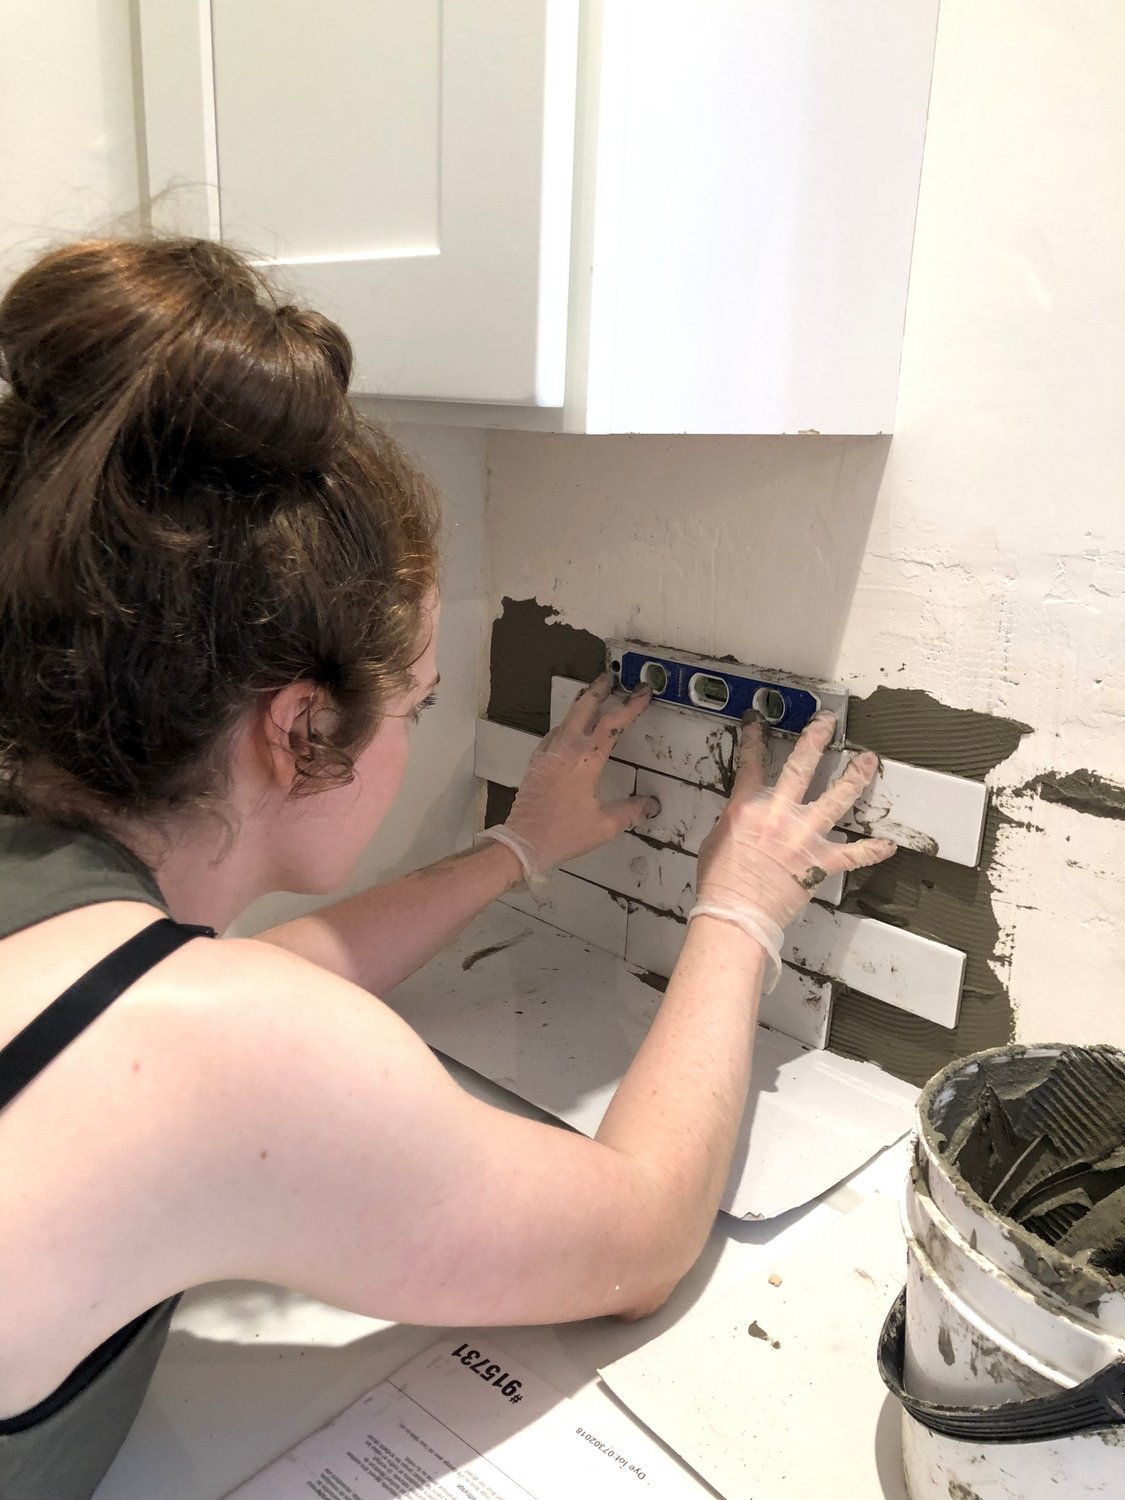
How to Remove Kitchen Wall Tiles: Easy Steps for a Flawless Finish
Outdated kitchen wall tiles, crumbling grout, or a tired backsplash design are all valid reasons to tackle a tile removal project yourself. For a standard 10 sq ft kitchen backsplash, a careful DIYer can complete the job in 3 to 5 hours without professional help — as long as they prioritize prep, safety, and patience to avoid damaging the underlying wall. Rushing the process often leads to gouged drywall, costly repairs, and an uneven surface for new tile or paint.
This guide walks you through every step of removing kitchen wall tiles, from prepping your workspace to repairing the wall for a flawless finish, plus key safety considerations for older homes. By the end, you’ll have a smooth, ready-to-finish wall and the confidence to complete your kitchen makeover on schedule.
Pre-Removal Prep: Tools, Safety, and Workspace Protection
Skipping prep is the fastest way to turn a simple tile removal job into a multi-day repair project. Having the right tools, safety gear, and a protected workspace will save you time, prevent injuries, and avoid damage to your kitchen’s existing finishes.
Essential Tools for Efficient Tile Removal
Having the right tools on hand before you start cuts down on frustration and prevents unnecessary wall damage. For most residential kitchen tile jobs, you’ll need:
- A 2-inch wide putty knife or stiff scraper for prying loose tiles and scraping adhesive
- A 16-ounce hammer for tapping the scraper under stubborn tiles
- A 3/8-inch cold chisel for removing thick grout and loosening well-adhered tiles
- A utility knife with a fresh blade for cutting caulk, sealant, and scoring grout lines
- An oscillating multi-tool with a grout removal blade (optional, but cuts grout removal time by 50% for large areas)
- A heat gun (rated for 300–500°F) for softening old adhesive, rather than a hairdryer which lacks sufficient heat output
- A stiff-bristle brush, damp sponges, and a shop vac with a HEPA filter for cleanup
For evidence-based safety guidance during home renovation projects, including how to handle hazardous materials, refer to OSHA’s DIY renovation safety recommendations.
Non-Negotiable Safety Gear
Tile removal creates sharp shards, fine silica dust, and — in homes built before 1980 — potential asbestos fibers from old tile or adhesive. Skipping safety gear puts you at risk for eye injuries, respiratory issues, and long-term health problems. Always wear:
- ANSI-rated safety goggles to protect eyes from flying debris
- Cut-resistant work gloves to avoid cuts from sharp tile edges
- An N95 or P100 respirator (not a basic cloth mask) to filter fine dust and, if applicable, asbestos fibers
- Long-sleeve clothing and closed-toe shoes to protect skin from cuts and falling debris
If your home was constructed before 1980, do not chip, sand, or heat tiles until you’ve hired a licensed professional to test for asbestos. Disturbing asbestos-containing materials releases carcinogenic fibers that can cause serious, long-term lung disease.
Protect Your Workspace in 3 Simple Steps
A protected workspace saves you hours of post-project cleanup and prevents damage to your kitchen’s existing finishes:
- Clear all items from countertops, shelves, and the floor around the tiled wall, including small appliances and decor. Cover remaining surfaces with 6-mil plastic sheeting, secured with painter’s tape to catch falling dust and tile shards.
- Tape over electrical outlets, light switches, and the edges of adjacent cabinets to prevent dust from settling in hard-to-clean crevices.
- Lay drop cloths or old cardboard on the floor to protect flooring from dropped tiles and scraping tools. If you’re working near a sink, turn off the water supply at the shut-off valve to avoid accidental leaks.
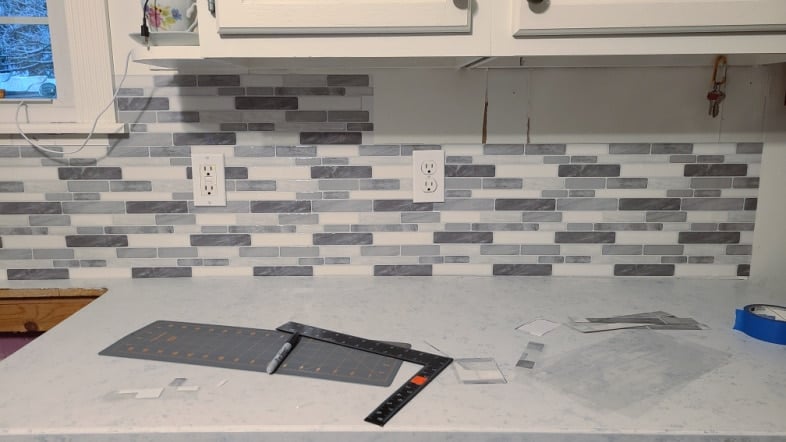 Drop cloths and taped edges contain dust and protect floors from tile debris during removal.
Image source: www.myrepurposedlife.com
Drop cloths and taped edges contain dust and protect floors from tile debris during removal.
Image source: www.myrepurposedlife.com
Step 1: Remove Grout to Loosen Tiles
Skipping grout removal is the most common mistake DIYers make when removing wall tiles. Grout forms a rigid bond between tiles and the wall, so prying tiles loose without first breaking that bond will chip tile edges, gouge drywall, and double your work time.
Manual Grout Removal for Reusable Tiles
If you plan to salvage tiles for reuse in a smaller project (like a mosaic or plant saucer), manual grout removal is the safest method to avoid chipping. Use a manual grout saw or a utility knife to cut along grout lines to a depth of 1/8 inch — just deep enough to break the grout’s bond without cutting into the tile itself. Work slowly along each grout line, wiping away dust with a damp sponge as you go to keep your cuts precise.
Speed Up Grout Removal With Power Tools
For large areas where tile reuse isn’t a priority, an oscillating multi-tool with a grout removal blade cuts through grout in a fraction of the time. Set the tool to a medium speed to avoid overheating, and use a dust extraction attachment if your model supports one to keep dust levels low. Work in 30-second bursts to prevent the blade from dulling or overheating, and keep the blade flat against the grout line to avoid scratching tile surfaces.
Clear Grout Residue Before Proceeding
After removing bulk grout, use a stiff-bristle brush and warm soapy water to scrub away remaining dust and small grout fragments from between tiles. Leftover grout will create uneven pressure when prying tiles, increasing the risk of wall damage. Check corners and edges with a utility knife to ensure no grout remains tucked behind tile edges.
Step 2: Pry Off Tiles Without Damaging Your Walls
Once grout is removed, tiles will pry loose easily if you work methodically, starting from the edges and moving inward.
Start With Perimeter Tiles for Easy Access
Tiles along the top, bottom, and sides of the tiled area are only surrounded by grout on one or two sides, making them the easiest to remove. Use a utility knife to score the remaining grout along the edge of the first tile, then slide a 2-inch putty knife under the tile’s edge. Gently twist the knife to lift the tile slightly, then work the knife further under the tile to loosen it from the adhesive. A small gap here is all you need to get started.
Use a Chisel and Hammer for Stubborn Tiles
If a tile won’t pry loose with a putty knife, slide a 3/8-inch chisel under the tile at a 15- to 20-degree angle (this angle prevents the chisel from gouging the drywall behind the tile). Tap the chisel gently with a hammer, moving it along the tile’s edge to gradually loosen the adhesive bond. Work slowly — forcing the chisel will crack the tile or tear the drywall, requiring extra repair work later.
Tackle Stubborn, Well-Adhered Tiles
For tiles that were installed with strong construction adhesive, use a heat gun set to 300°F to soften the glue for 10 to 15 seconds before prying. Hold the heat gun 6 inches from the tile to avoid warping or cracking it. Never use a heat gun on tiles suspected of containing asbestos, as heat can release hazardous fibers. If prying still won’t move the tile, use a small pry bar with a thin wood block placed between the bar and the wall to distribute pressure and protect the drywall.
Step 3: Remove Leftover Adhesive and Repair the Wall
After all tiles are removed, you’ll be left with a layer of old adhesive, small holes, and rough spots on the wall. Properly cleaning and repairing this surface is critical for a flawless finish when you install new tile or paint.
Scrape Off Bulk Adhesive Residue
Start by scraping away large chunks of adhesive with a 3-inch putty knife, holding the knife at a low angle to avoid gouging the drywall. For thick, rubbery adhesive, use the heat gun set to 300°F to soften the glue for 10 seconds before scraping. Work in small sections to avoid letting the adhesive cool and harden again. For plaster walls, use a plastic scraper instead of metal to avoid scratching the surface.
Dissolve Stubborn Adhesive With Safe Removers
If scraping leaves behind thin, stubborn layers of adhesive, use a water-based adhesive remover designed for drywall (avoid harsh solvents like acetone, which can dissolve drywall paper). Apply the remover with a paintbrush, let it sit for 5 to 10 minutes per the product instructions, then scrape away the softened adhesive with a putty knife. Always test the remover in a small, inconspicuous area first to ensure it doesn’t damage the wall.
Sand, Patch, and Prime for a Flawless Base
Once all adhesive is removed, sand the wall with 120-grit sandpaper to smooth out rough spots and leftover adhesive residue, then follow up with 220-grit sandpaper for an even finish. Wipe away sanding dust with a damp sponge, then fill any nail holes, cracks, or divots with lightweight spackle. Apply spackle with a putty knife, smoothing it flush with the surrounding wall, then let it dry completely (usually 1 to 2 hours) before sanding the patched areas smooth.
For step-by-step guidance on patching and priming drywall after tile removal, consult University of Minnesota Extension’s home repair resources.
Finish by applying a stain-blocking, high-adhesion primer to the entire wall. This seals any remaining adhesive residue, prevents tannin bleed from old drywall, and creates a uniform surface for paint or new tile. If the wall has more than 1/8 inch of unevenness after patching, apply a thin skim coat of joint compound before priming to ensure a perfectly level surface.
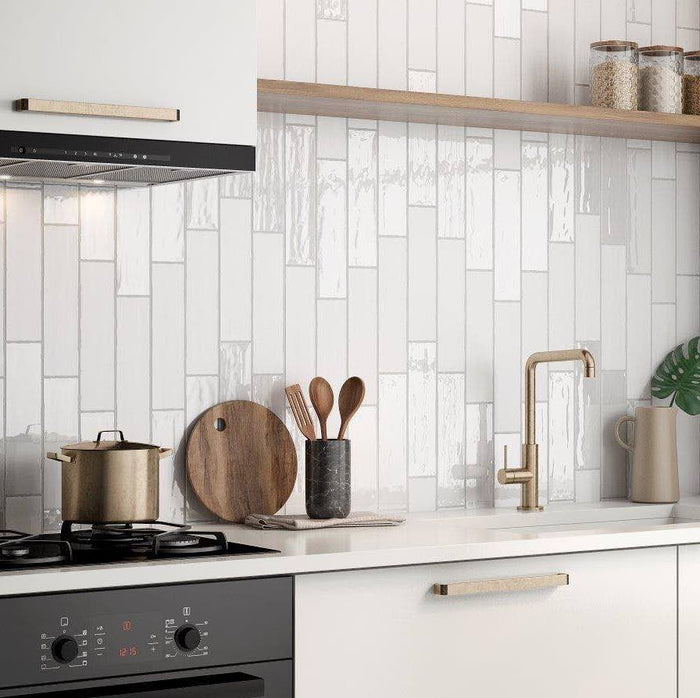 Removing all adhesive residue ensures new finishes adhere evenly and last for years.
Image source: www.mineraltiles.com
Removing all adhesive residue ensures new finishes adhere evenly and last for years.
Image source: www.mineraltiles.com
Post-Removal Cleanup and Next Steps
Proper cleanup prevents dust from spreading throughout your home and ensures your wall is ready for its new finish.
Safely Dispose of Tile and Debris
If you’re working in a home built before 1980, bag all tile debris, dust, and used protective gear in sealed heavy-duty plastic bags and contact your local waste management authority for asbestos disposal rules — never throw these materials in regular household trash. For homes with no hazardous materials, you can dispose of tile debris in standard construction waste bags, or repurpose intact, undamaged tiles for small DIY projects like coasters or garden stepping stones.
Prep Your Wall for Its New Finish
Once the wall is primed and dry, you’re ready to install new tile, paint, or apply a peel-and-stick backsplash. If you’re repainting the wall to update your kitchen’s look, coordinate your color choice with your existing cabinets for a cohesive design: complement your green kitchen cabinetry with soft neutral or cool-toned wall colors, or pair with warm brown cabinet tones for a cozy, timeless feel.
If you’re completing a full kitchen refresh alongside your tile removal, you may want to remove your existing wall-mounted faucet first to avoid getting it covered in dust or debris during the project.
Once your new wall is finished, you might be planning a reveal party to show off your updated space. If you enjoy homemade beverages, you can find at-home wine making supplies to serve alongside your renovated kitchen, or opt for beginner-friendly home brewing kits if you’re new to homemade wine. For serving your batches, durable reusable wine bottles are a sustainable, stylish choice for your next gathering.
Frequently Asked Questions
How long does kitchen wall tile removal take?
For a standard 30 sq ft kitchen backsplash, expect 3 to 6 hours of active work for a DIYer with basic tools. Larger areas, walls with multiple layers of adhesive, or jobs that require asbestos safety precautions will take longer. Always budget extra time for wall repair and cleanup to avoid rushing and causing damage.
Do I need to remove all adhesive before installing new tile?
Yes. Even thin layers of leftover adhesive create an uneven surface that will cause new tiles to sit crookedly, crack over time, or fall off entirely. Scrape or sand away 100% of adhesive residue, then apply a high-adhesion primer to ensure a strong bond between the wall and new tile.
Can I remove kitchen wall tiles without damaging drywall?
Absolutely, as long as you work slowly and use the right techniques. Score grout lines fully before prying to reduce resistance, use a low-angle chisel to avoid gouging the drywall, and apply heat to soften adhesive instead of using excessive force. Small nail holes from minor chipping are easy to patch with spackle, but large tears will require replacing sections of drywall.
How do I know if my old tiles contain asbestos?
Tiles and organic mastic adhesive installed before 1980 may contain asbestos fibers. If your home is older than this, do not chip, sand, or heat tiles until you’ve hired a licensed asbestos abatement professional to test a sample. Disturbing asbestos-containing materials releases airborne carcinogenic fibers that can cause serious, long-term lung disease.
Do I need a special primer for tile removal residue?
Yes. Use a stain-blocking, high-adhesion primer formulated for drywall. Standard latex primer will not adhere well to leftover adhesive residue, leading to peeling paint or poor tile adhesion later. The primer also seals any stains from old drywall or adhesive, creating a uniform base for your new finish.
What’s the fastest way to remove kitchen wall tiles?
For large areas with no need to reuse tiles, an oscillating multi-tool with a grout removal blade paired with a heat gun to soften adhesive will cut your total work time in half. For small areas or jobs where you’re salvaging tiles, manual grout removal and careful prying with a putty knife is the fastest method to avoid damaging the tiles.
Conclusion
Removing kitchen wall tiles is a straightforward DIY project as long as you prioritize prep, safety, and patience. Taking the time to remove grout fully, pry tiles carefully, and repair the wall properly will save you hours of repair work later and ensure your new tile, paint, or backsplash looks professional and lasts for years.
If you’re tackling a full kitchen refresh after your tile removal, take the time to coordinate your new wall finish with your existing cabinets and fixtures for a cohesive, polished look. With the right approach, you’ll have a stunning new kitchen space without the cost of hiring a professional.
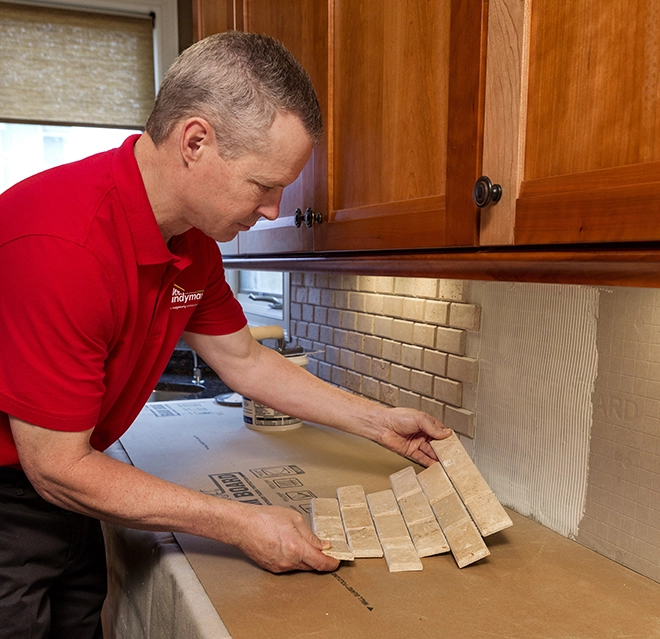 A properly prepped wall is the foundation of a professional, long-lasting tile finish.
Image source: www.mrhandyman.com Ready to complete your full kitchen refresh? Follow our guide to removing a wall-mounted kitchen faucet to avoid damage to surrounding tiles and finishes during your next project step.
A properly prepped wall is the foundation of a professional, long-lasting tile finish.
Image source: www.mrhandyman.com Ready to complete your full kitchen refresh? Follow our guide to removing a wall-mounted kitchen faucet to avoid damage to surrounding tiles and finishes during your next project step.